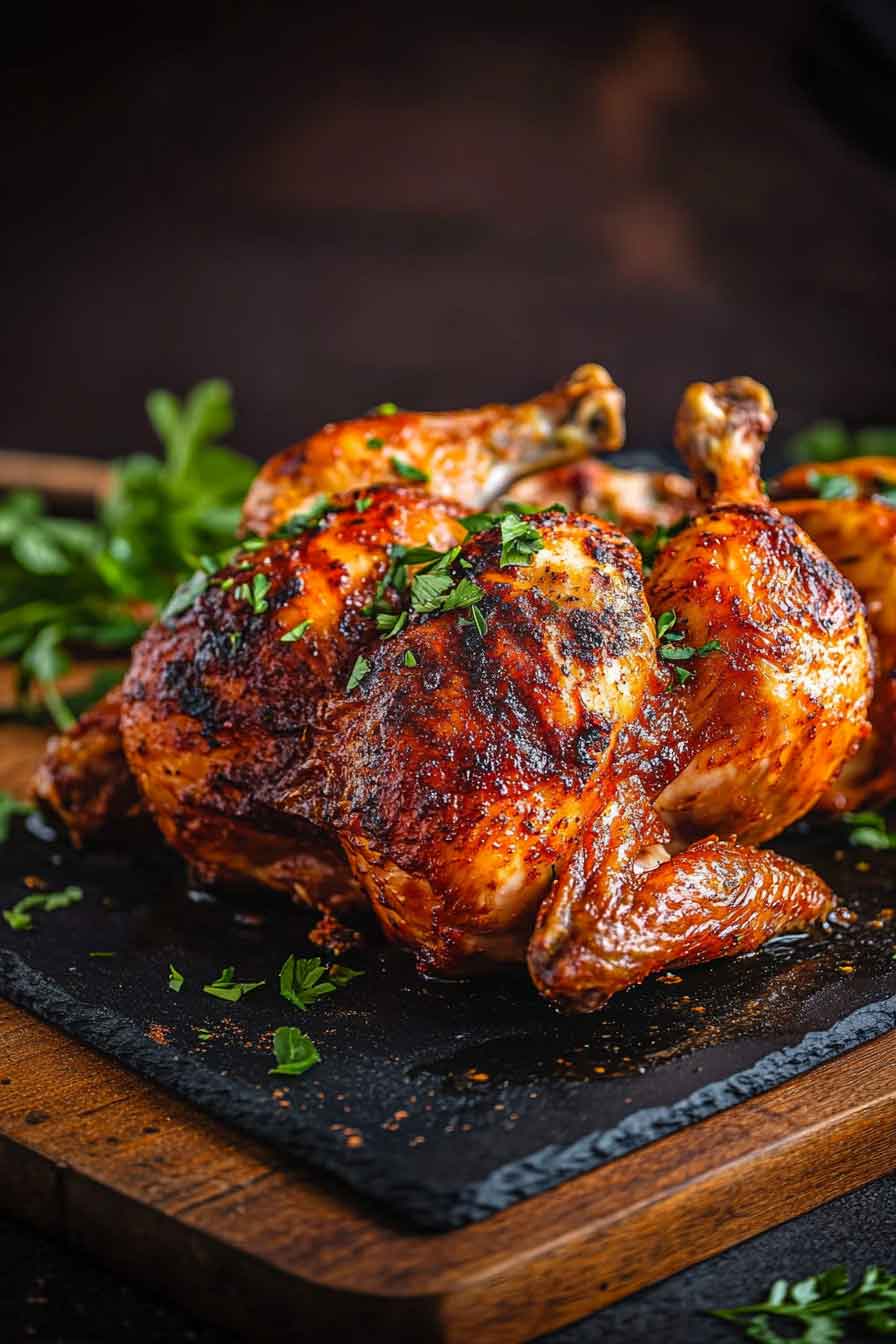
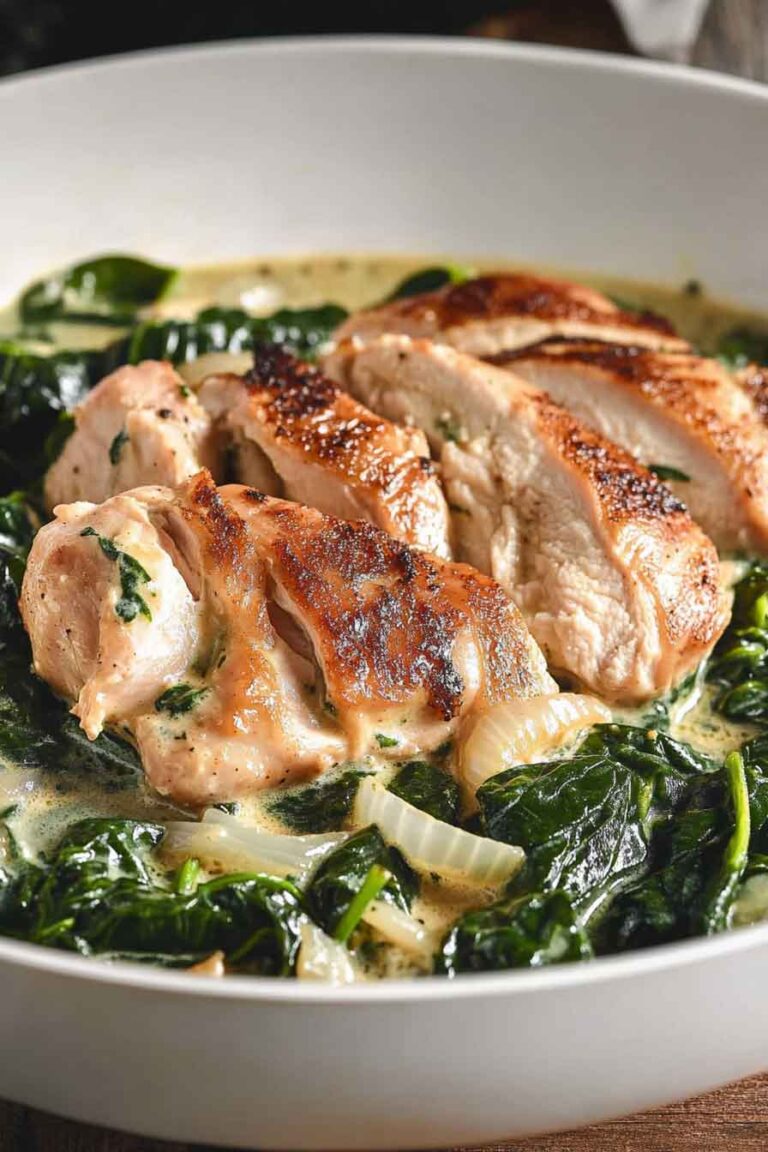
Perfectly Juicy Roasted Chicken
Ever had chicken that’s dry and hard to chew? Ugh, I’ve been there, and it was not fun. Today, I’ll share my trick for perfectly juicy roasted chicken.
This recipe makes chicken soft, juicy, and tasty every single time. And guess what? You don’t need to be a chef to do it!
Your family will smile and say, “Wow!” Mine always does. You’ll feel super proud when everyone loves your yummy chicken.
Ready to roast the best juicy chicken ever? Let’s do this together right now!
Why You’ll Love This Recipe
- Tried and True: This recipe follows classic roasting techniques that work every time.
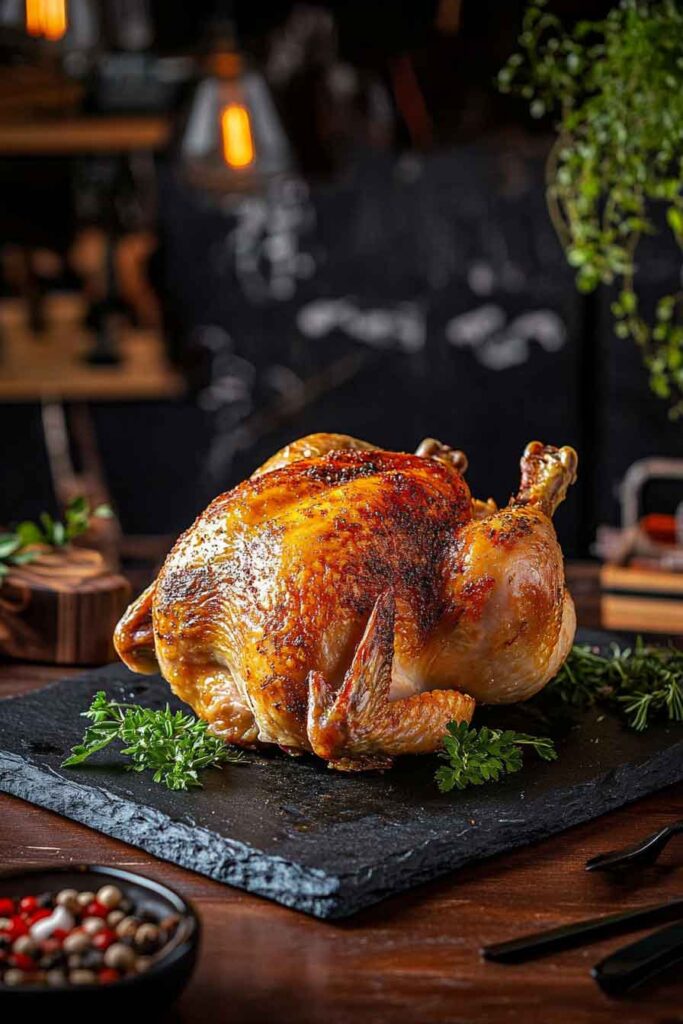
- Crispy Skin + Moist Meat: Butter and aromatics lock in flavor and moisture, giving you that golden exterior with juicy bites.
- No Fancy Tools Needed: Everything is cooked in one pan with basic tools.
- Flexible Flavors: Easy to tweak with herbs, spices, or citrus.
- Meal Prep Hero: Leftovers work great in sandwiches, salads, or soups.
What You Need to Know Before You Start
Prep Time & Cook Time:
Prep Time: 20 minutes
Cook Time: 1 hour 15 minutes
Total Time: ~1 hour 35 minutes (including rest time)
Servings:
This recipe serves 4 to 6 people depending on portion size.
Difficulty:
Beginner-friendly with techniques any home cook can master.
Required Kitchen Tools
- Roasting pan or oven-safe skillet
- Basting brush (optional)
- Meat thermometer (recommended)
- Cutting board
- Sharp knife
- Mixing bowl
- Aluminum foil
Ingredients for Perfectly Juicy Roasted Chicken
Here’s what you’ll need to bring it all together (exact amounts are listed in the recipe card below):
- Whole Chicken (about 4–5 lbs): Fresh or thawed, patted dry
- Salt and Black Pepper: The basic seasoning foundation
- Onion Powder: Adds a subtle savory depth
- Butter (softened): For spreading under and over the skin to keep the meat moist and the skin golden
- Celery Stalks: Adds moisture and aroma from the inside out
- Garlic Cloves: Optional, but adds a mellow sweetness as it roasts
- Fresh Herbs (optional): Rosemary, thyme, or parsley for added flavor
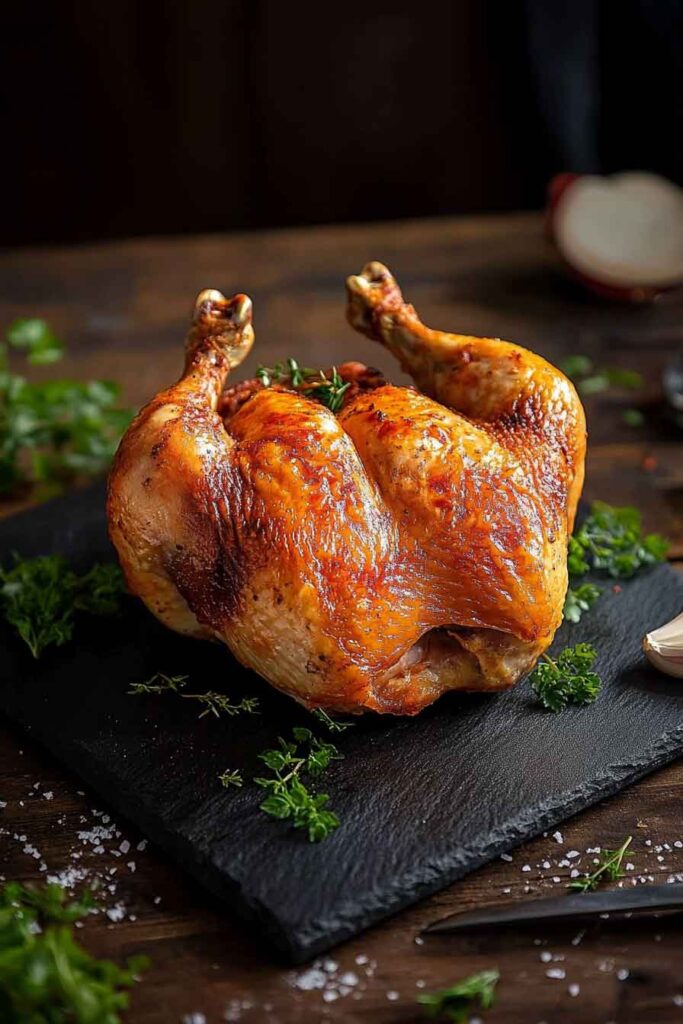
Variations for Roasted Chicken
Butter Swap: Use olive oil if you prefer dairy-free or lighter fat content.
Citrus Twist: Add sliced lemon or orange inside the cavity.
Garlic-Lover’s Version: Double the garlic and mash a few cloves into the butter.
Spiced Up: Add paprika or smoked paprika for warmth and a deeper color.
Herb-Crusted: Use a mix of finely chopped fresh herbs and salt as a dry rub under the skin.
How to Make Perfectly Juicy Roasted Chicken
Step-by-Step Instructions
1. Prep the Chicken
Remove the chicken from its packaging. Remove any giblets from the cavity (if included). Pat the chicken dry with paper towels—this helps the skin crisp up in the oven.
2. Season Inside and Out
Sprinkle salt, black pepper, and onion powder all over the chicken—don’t forget the cavity. For even more flavor, gently loosen the skin over the breasts and rub some of the seasoning and softened butter underneath. Then, spread the rest of the butter over the outer skin.
3. Stuff the Cavity
Place a few celery stalks and, if you like, a few garlic cloves or fresh herbs into the chicken’s cavity. This helps add moisture and subtle flavor as the bird roasts.
4. Tie the Legs (Optional)
Using kitchen twine, tie the legs together for even cooking. It’s not necessary but helps the chicken hold its shape and roast more evenly.
5. Roast
Preheat your oven to 425°F (220°C). Place the chicken breast-side up in a roasting pan or oven-safe skillet. Roast uncovered for 15 minutes to get the skin going.
Then, reduce the heat to 375°F (190°C) and continue roasting for about 1 hour, or until the internal temperature at the thickest part of the thigh reads 165°F (74°C).
If the top is browning too quickly, lightly tent the chicken with foil.
6. Let It Rest
Remove the chicken from the oven and let it rest for 10–15 minutes before slicing. This helps the juices redistribute so the meat stays moist.
Serving and Decoration
How to Serve Perfectly Juicy Roasted Chicken
This roast chicken is incredibly versatile. Here are a few simple serving ideas:
- With Vegetables: Serve alongside roasted carrots, potatoes, or green beans.
- With Rice or Grains: Pair with garlic butter rice, quinoa, or wild rice pilaf.
- On a Salad: Slice thinly and add to a bed of greens with vinaigrette.
- In a Sandwich: Use leftovers for sandwiches with lettuce and aioli.
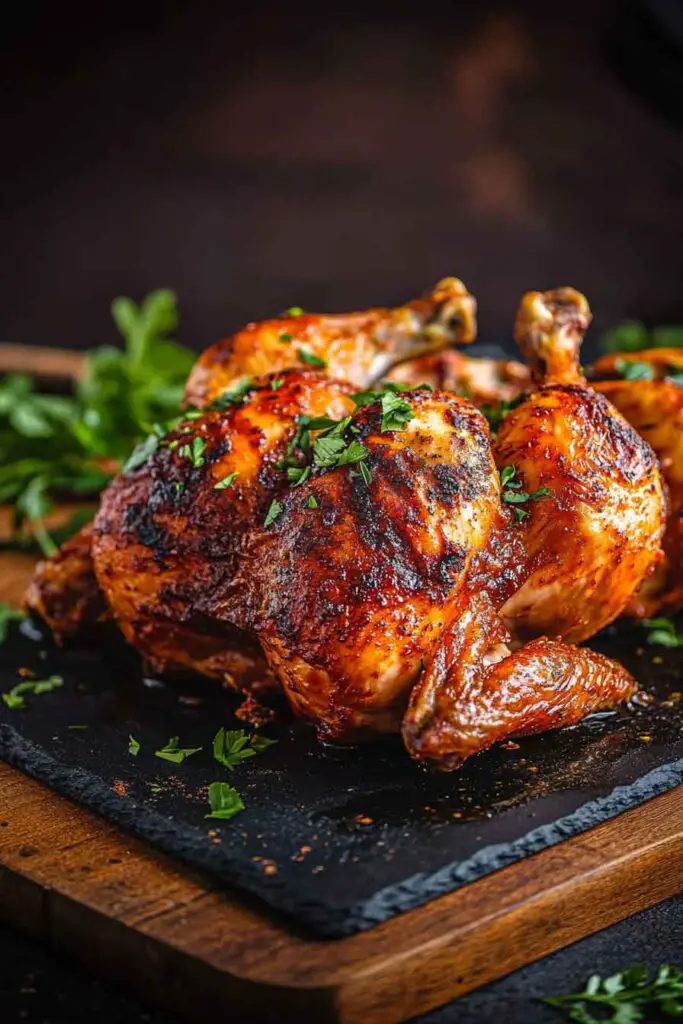
- As a Holiday Centerpiece: Place the chicken on a serving platter, garnish with fresh herbs and citrus slices for a simple, beautiful presentation.
Storing Perfectly Juicy Roasted Chicken
- Refrigerator: Store leftover chicken in an airtight container for up to 4 days. Keep the skin on if possible—it helps lock in moisture when reheating.
- Freezer: You can freeze cooked chicken for up to 3 months. Wrap tightly in plastic wrap, then foil, or use a freezer-safe bag.
- Reheating: Warm gently in the oven at 325°F (160°C) or in a covered skillet over low heat with a splash of broth or water. Avoid microwaving skin-on pieces to prevent sogginess.

Tips and Tricks for Success
- Dry the Skin Well: Patting the chicken dry before roasting helps the skin crisp up beautifully.
- Don’t Skip the Resting Time: Letting the chicken rest after roasting keeps it juicy when sliced.
- Use a Thermometer: A meat thermometer takes the guesswork out of doneness. 165°F (74°C) in the thigh is your magic number.
- Pan Juices = Liquid Gold: Spoon some over the carved chicken or use it to make a quick pan gravy.
Nutrition (Per Serving – Based on 6 servings)
| Nutrient | Amount |
|---|---|
| Calories | ~290 kcal |
| Protein | 30g |
| Fat | 18g |
| Saturated Fat | 7g |
| Carbohydrates | 1g |
| Fiber | 0g |
| Sugar | 0g |
| Sodium | 400mg (depends on salt used) |
| Cholesterol | 110mg |
Note: Nutrition will vary slightly based on the size of the chicken and exact ingredients used.
Perfectly Juicy Roasted Chicken FAQs
Can I roast the chicken with vegetables in the pan?
Yes, add root vegetables like carrots, potatoes, and onions around the chicken. They’ll roast in the juices and become super flavorful.
Do I need to baste the chicken?
Not necessary with this recipe. The butter under the skin and covered cavity help keep the meat juicy. But if you want to baste, do it once halfway through cooking.
What if I don’t have a meat thermometer?
Check doneness by piercing the thigh—the juices should run clear, not pink. Also, wiggle the leg; it should feel loose in the joint when fully cooked.
Can I use olive oil instead of butter?
Yes. Olive oil will also help crisp the skin, though the flavor will be slightly different.
Conclusion
This Perfectly Juicy Roasted Chicken is your go-to for a comforting, fuss-free dinner that still feels special. The crisp skin, tender meat, and simple flavors make it easy to pair with anything from veggies to rice—or even just a piece of bread to soak up those delicious pan juices. It’s a recipe you’ll come back to again and again.
Let it be the centerpiece of your weekend dinner, your holiday table, or your lunch leftovers. Either way, it’s simply good cooking.
