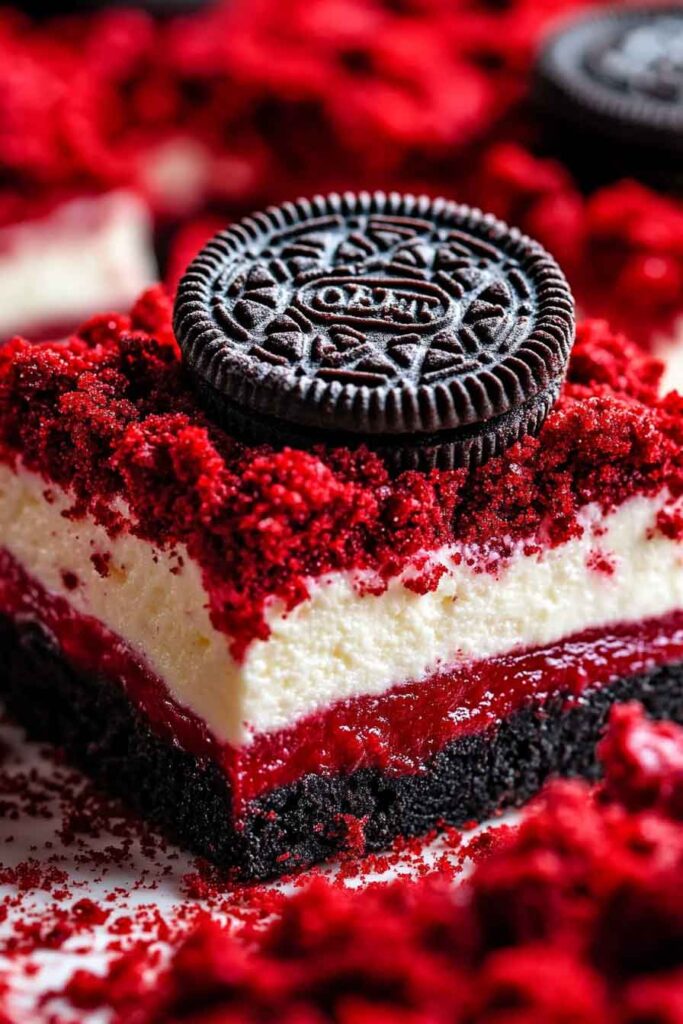
The Perfect Red Velvet Oreo Cheesecake Bars for Any Occasion
Looking for a dessert that’s sweet, creamy, and just the right amount of indulgent? These red velvet Oreo cheesecake bars are everything.
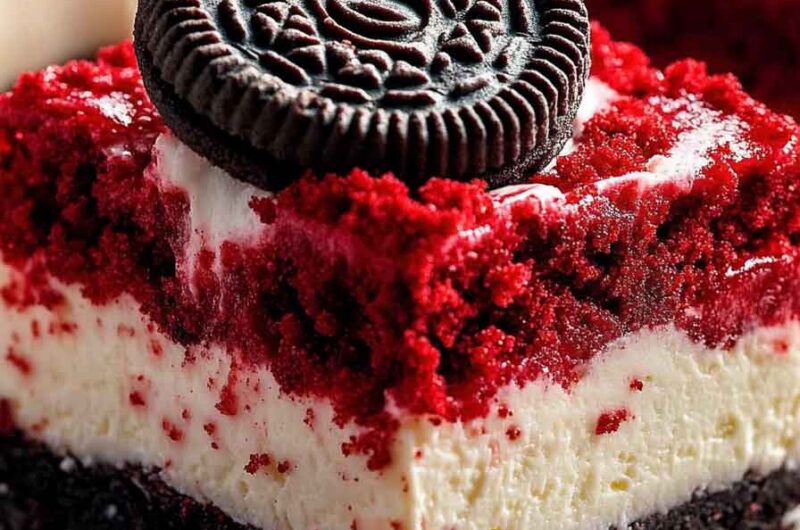
I made them for a special event, and they were a huge hit. The red velvet flavor, the creamy cheesecake, and the Oreo crust? Pure perfection.
They’re perfect for birthdays, holidays, or just because you deserve a treat. And don’t worry—they’re way easier to make than they look!
Ready to wow your guests (and yourself)? Let’s make these red velvet Oreo cheesecake bars—you’ll be hooked after the first bite.
Why You’ll Love This Recipe
- Reader Favorite: These cheesecake bars are loved by everyone who tries them! One reader commented, “These are the best cheesecake bars I’ve ever had!”
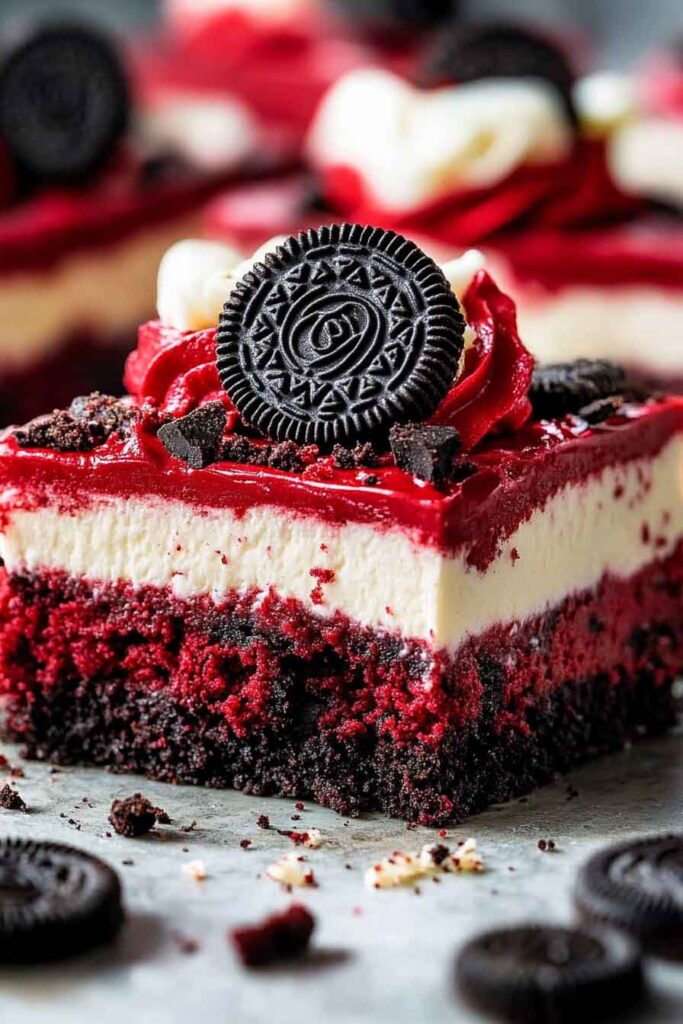
- Decadent and Flavorful: The combination of red velvet cake and creamy cheesecake is a match made in heaven, making this dessert both indulgent and irresistible.
- Perfect for Any Occasion: Whether it’s a family gathering or a special celebration, these bars are sure to impress.
- Make-Ahead Friendly: Prepare these bars ahead of time, and let them chill in the fridge—perfect for stress-free entertaining!
- Easy to Make: Despite looking fancy, these bars are easy to make with simple ingredients and steps.
What You Need to Know Before You Start
Prep Time & Cook Time:
- Prep Time: 25 minutes
- Cook Time: 40 minutes
- Chill Time: 4 hours (minimum)
- Total Time: About 5 hours and 10 minutes (including chill time)
Servings: This recipe makes about 12 bars, perfect for a small gathering. If you need more, simply double the recipe and use an extra 9×13-inch baking pan!
Difficulty: This recipe is relatively easy, with just a few steps to follow. It’s perfect for both beginners and experienced bakers.
Required Kitchen Tools
- 9×13-inch baking pan (lined with parchment paper or foil for easy removal)
- Food processor (for crushing the Oreos)
- Electric mixer or stand mixer (for mixing the cheesecake filling)
- Measuring cups and spoons
- Rubber spatula (for scraping down the sides of the bowl)
- Cooling rack (for cooling the bars before refrigerating)
- Offset spatula (for spreading the sour cream topping)
Ingredients for the Red Velvet Oreo Cheesecake Bars:
For the Crust:
- 25 Red Velvet Oreo cookies (around 2 packages)
- 3 tablespoons unsalted butter, melted
For the Cheesecake Filling:
- 1 lb. cream cheese, softened (you can use regular or 1/3 less fat)
- 3/4 cup granulated sugar
- Pinch of salt
- 3 large eggs, room temperature
- 1/4 cup plus 2 tablespoons sour cream, room temperature
- 1 teaspoon vanilla extract
- 10 Red Velvet Oreos, coarsely chopped (or more if desired)
For the Sour Cream Topping:
- 1 cup sour cream, room temperature
- 1/4 cup granulated sugar
- 1 teaspoon vanilla extract
How to Make Red Velvet Oreo Cheesecake Bars – Step-by-Step Instructions
1. Prepare the Crust
Start by crushing the Red Velvet Oreo cookies into fine crumbs. You can do this using a food processor or by placing the cookies in a zip-top bag and smashing them with a rolling pin. Once crushed, transfer the crumbs to a medium-sized bowl and stir in the melted butter. Mix until the crumbs are evenly coated with the butter.
2. Press the Crust into the Pan
Line your 9×13-inch baking pan with parchment paper or foil for easy removal later. Then, press the Oreo mixture evenly into the bottom of the pan, making sure to create a firm and even layer. You can use the back of a spoon or your fingers to help press it down. Set the pan aside while you prepare the cheesecake filling.
3. Make the Cheesecake Filling
In a large bowl, use an electric mixer to beat the softened cream cheese until smooth and creamy. Add the granulated sugar and a pinch of salt, and continue mixing until the sugar is fully incorporated and the mixture is fluffy.
Next, add the eggs one at a time, mixing well after each addition. Add the sour cream and vanilla extract, and beat everything together until smooth. Finally, fold in the coarsely chopped Red Velvet Oreos to add a delightful texture to the filling.
4. Pour the Filling onto the Crust
Pour the cheesecake filling over the prepared Oreo crust in the pan. Use a spatula to spread it evenly across the surface, smoothing it out to the edges. Tap the pan gently on the counter to remove any air bubbles and ensure the filling is evenly distributed.
5. Bake the Cheesecake Bars
Preheat your oven to 325°F (163°C). Place the pan in the oven and bake for 35-40 minutes. The cheesecake should be set around the edges but slightly jiggly in the center. Be careful not to over-bake, as the cheesecake will firm up as it cools.
Once baked, remove the pan from the oven and allow the cheesecake to cool in the pan for about 15 minutes.
6. Prepare the Sour Cream Topping
While the cheesecake is cooling, mix together the sour cream, granulated sugar, and vanilla extract in a small bowl. Once the cheesecake has cooled slightly, spread the sour cream topping evenly over the top. Return the pan to the oven for an additional 5 minutes, just to set the topping.
7. Chill and Set
Once the bars are finished baking and the sour cream topping is set, remove them from the oven. Let them cool at room temperature for about 15 minutes. Then, transfer the pan to the refrigerator and chill for at least 4 hours, or overnight if possible. This step allows the cheesecake to firm up and ensures the bars hold their shape when cut.
How to Serve Red Velvet Oreo Cheesecake Bars
These cheesecake bars are perfect for any occasion, and they are so versatile in how you can serve them. Here are a few ideas:
- Serve as Individual Bars: Cut into squares or rectangles and serve them as individual bars. They are great for parties or gatherings because they are easy to grab and enjoy.
- Top with Fresh Berries: Garnish each bar with a few fresh berries like strawberries or raspberries to add a burst of freshness and color.
- Serve with a Scoop of Ice Cream: For an extra indulgent treat, pair these cheesecake bars with a scoop of vanilla or chocolate ice cream.
- Pair with Whipped Cream: A dollop of freshly whipped cream can add a creamy touch that complements the rich cheesecake bars.
Storing Red Velvet Oreo Cheesecake Bars
- In the Refrigerator: Store any leftover bars in an airtight container in the refrigerator for up to 5 days.
- Freezing: If you need to store these bars for longer, you can freeze them! Just wrap them tightly in plastic wrap or place them in a freezer-safe container, and they’ll last for up to 3 months. To thaw, simply let them sit at room temperature for a few hours or thaw in the refrigerator overnight.
Tips and Tricks for Success
- Use Room Temperature Ingredients: Be sure the cream cheese, eggs, and sour cream are at room temperature before you begin. This ensures a smoother filling without lumps.
- Don’t Over-Bake: Keep an eye on the cheesecake while it’s baking. It should be slightly jiggly in the center but firm around the edges. Overbaking will lead to a dry texture.
- Let the Bars Chill: Patience is key! Chilling the bars for at least 4 hours is essential to get the perfect texture and make them easy to slice.
Nutrition Information (per serving)
| Nutrient | Amount |
|---|---|
| Calories | 350 |
| Total Fat | 22g |
| Saturated Fat | 12g |
| Cholesterol | 60mg |
| Sodium | 150mg |
| Total Carbohydrates | 35g |
| Dietary Fiber | 1g |
| Sugars | 26g |
| Protein | 5g |
The Perfect Red Velvet Oreo Cheesecake Bars for Any Occasion
Course: Dessert12
bars25
minutes40
minutes350
kcalIngredients
- For the Crust:
25 Red Velvet Oreo cookies (around 2 packages)
3 tablespoons unsalted butter, melted
- For the Cheesecake Filling:
1 lb. cream cheese, softened (you can use regular or 1/3 less fat)
3/4 cup granulated sugar
Pinch of salt
3 large eggs, room temperature
1/4 cup plus 2 tablespoons sour cream, room temperature
1 teaspoon vanilla extract
10 Red Velvet Oreos, coarsely chopped (or more if desired)
- For the Sour Cream Topping:
1 cup sour cream, room temperature
1/4 cup granulated sugar
1 teaspoon vanilla extract
Directions
- Prepare the crust by crushing the Red Velvet Oreos and mixing with melted butter. Press the mixture into the bottom of a 9×13-inch baking pan.
- Make the cheesecake filling by beating the cream cheese, sugar, salt, eggs, sour cream, and vanilla extract. Fold in chopped Red Velvet Oreos.
- Pour the cheesecake mixture over the crust, smoothing it evenly.
- Bake at 325°F for 35-40 minutes. Let it cool, then top with a sour cream mixture and bake for another 5 minutes.
- Chill the bars in the refrigerator for at least 4 hours, or overnight.
- Cut into bars, serve, and enjoy!
Red Velvet Oreo Cheesecake Bars FAQs
1. Can I make these bars ahead of time?
Yes! These cheesecake bars can be made up to 2 days in advance. Just make sure to store them in an airtight container in the refrigerator, and they’ll stay fresh and delicious.
2. Can I use regular Oreos instead of Red Velvet Oreos?
Absolutely! If you can’t find Red Velvet Oreos, you can use regular Oreos or even another flavor, like golden Oreos, for a different twist.
3. Can I freeze these cheesecake bars?
Yes! To freeze, wrap the cheesecake bars tightly in plastic wrap or place them in a freezer-safe container. They will stay fresh for up to 3 months. When ready to enjoy, thaw them in the fridge overnight or at room temperature for a few hours.
4. Can I use a different type of crust?
While this recipe uses Red Velvet Oreos for the crust, you can try substituting them with graham crackers or chocolate wafer cookies. Just be sure to adjust the amount of butter to ensure the crust sticks together.
5. Why is my cheesecake a little jiggly in the center?
A slight jiggle in the center is normal. It will firm up as the bars chill. Just make sure not to overbake the cheesecake, as that can make it dry instead of creamy.
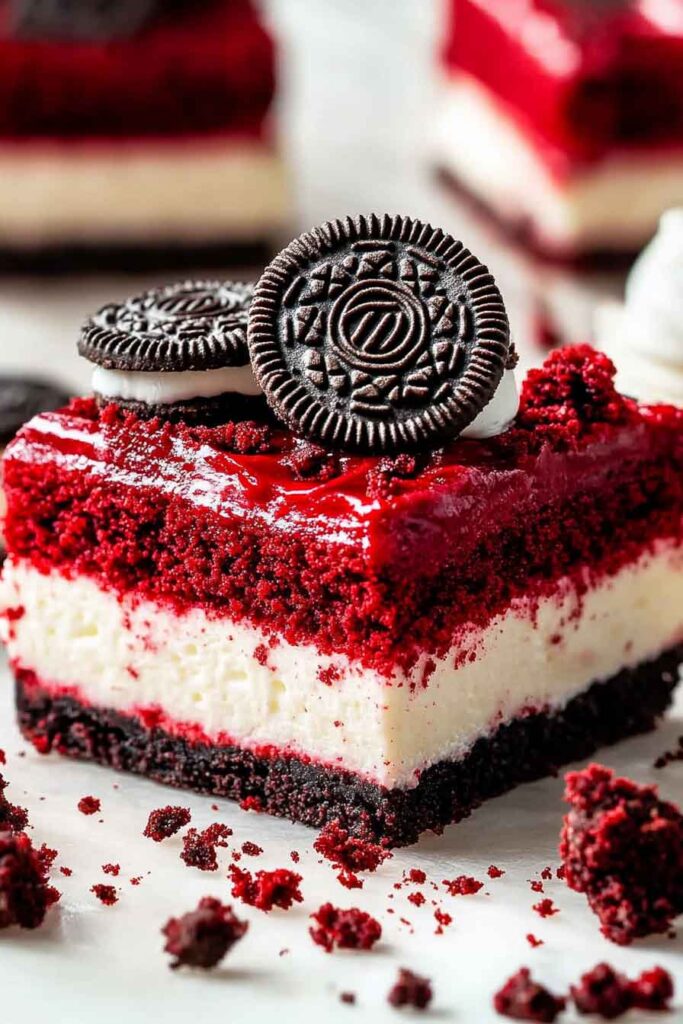
Conclusion
These Perfect Red Velvet Oreo Cheesecake Bars are an easy yet decadent dessert that brings together the classic flavors of red velvet and Oreo cheesecake in a perfectly portable form. Whether you’re celebrating a special occasion or simply craving something indulgent, these bars are sure to impress. With their creamy filling, crunchy Oreo crust, and tangy sour cream topping, every bite offers a perfect balance of flavors and textures. Serve them at your next gathering, and watch them disappear in no time!