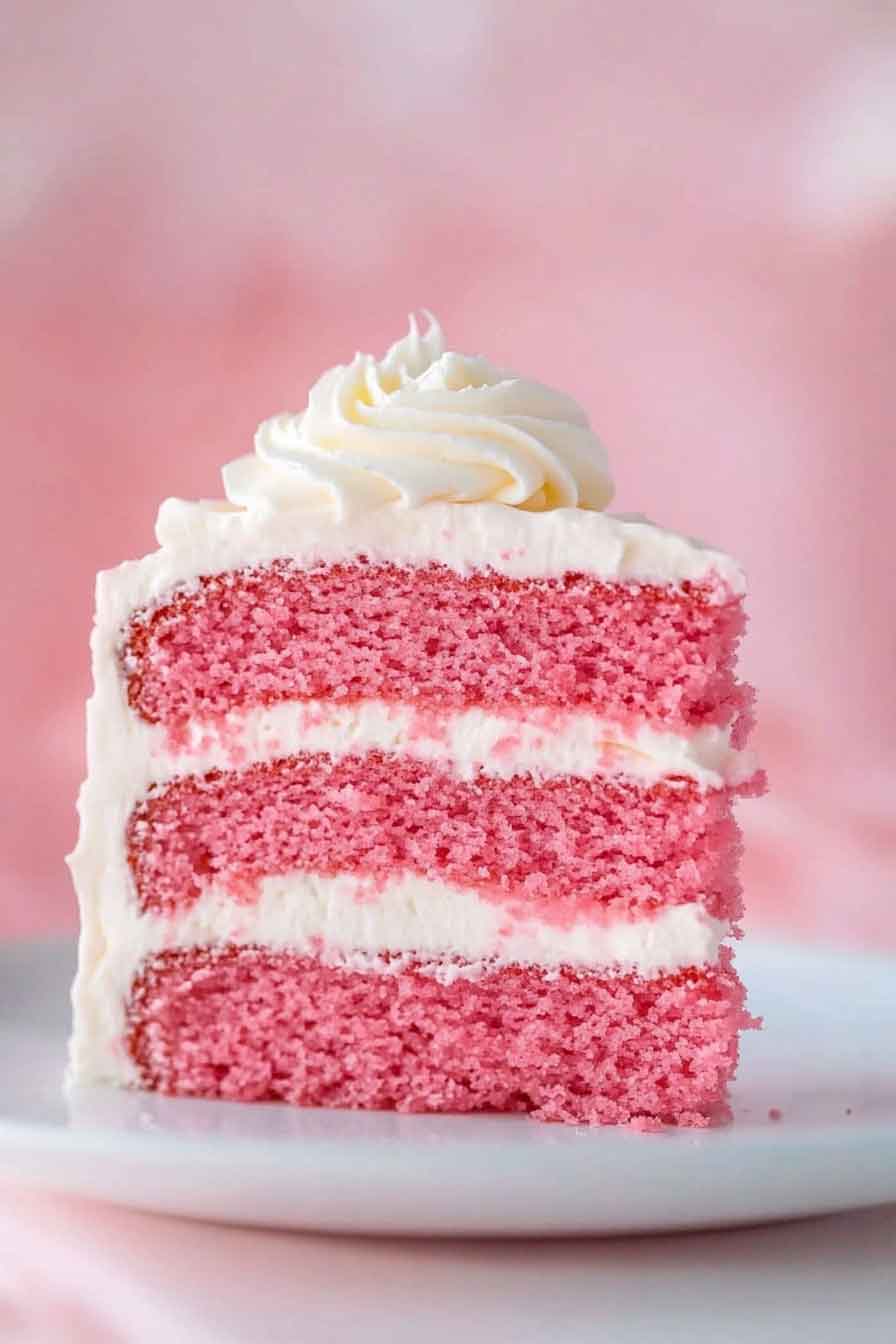
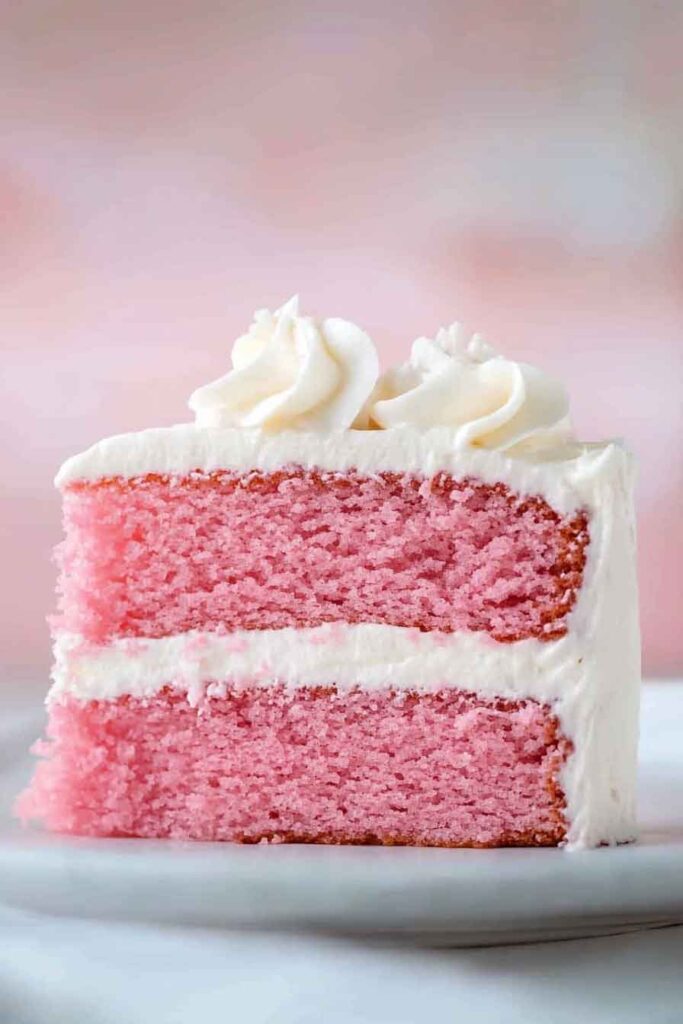
The Ultimate Guide to Pink Velvet Cake
Are you ready to make a cake that’s as pretty as it is delicious? Pink velvet cake is the perfect treat for any occasion, with its soft texture and beautiful color. Trust me, once you try this cake, you’ll be hooked!
You might be wondering, what makes this cake so special? It’s a mix of rich velvet flavor with just the right touch of sweetness. I’ve got everything you need to know about making the perfect pink velvet cake, so let’s dive in!
Whether you’re baking it for a birthday, a party, or just because, this cake is sure to impress. Get ready to learn all the tips and tricks to bake the fluffiest, most mouthwatering pink velvet cake ever!
Why You’ll Love This Recipe
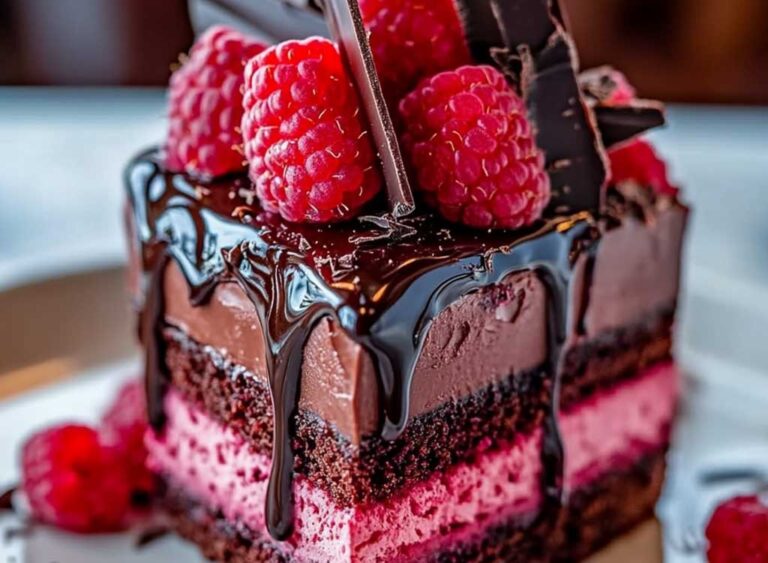
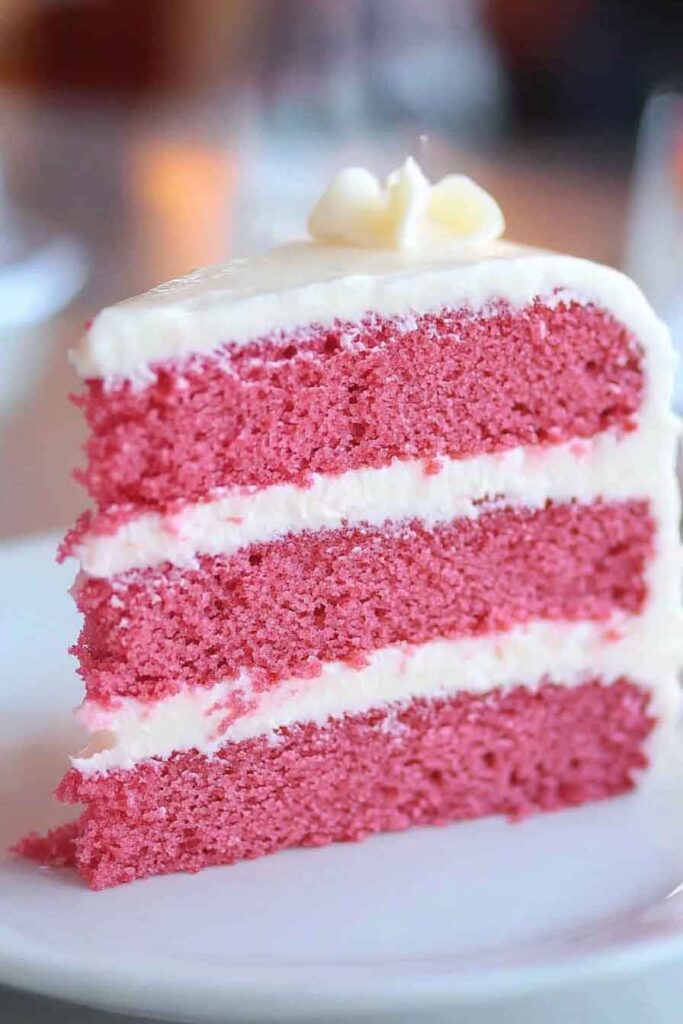
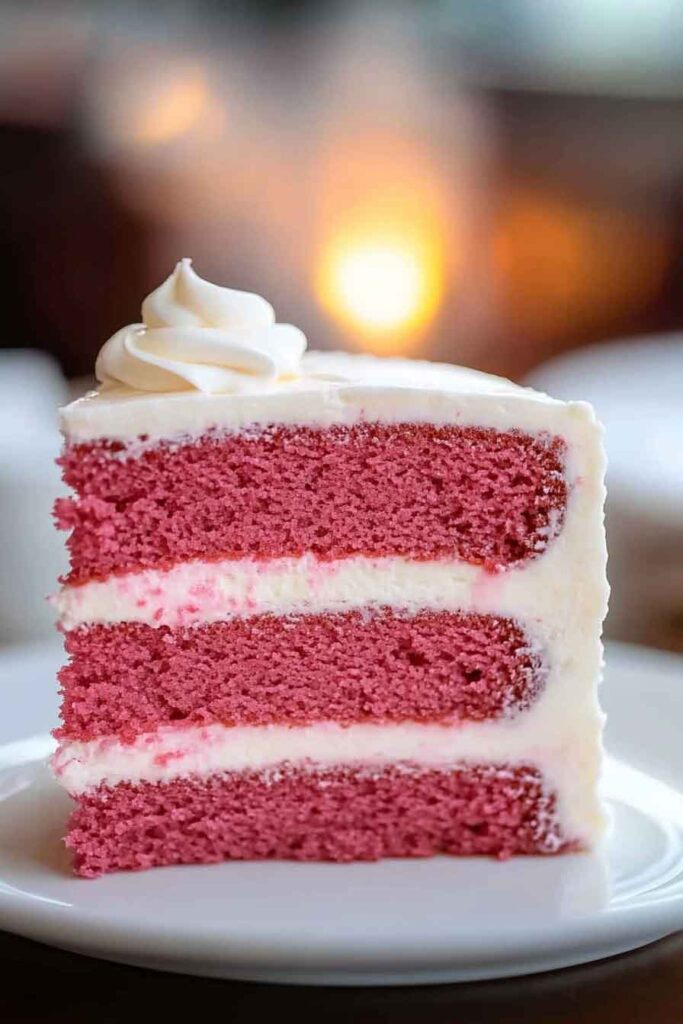
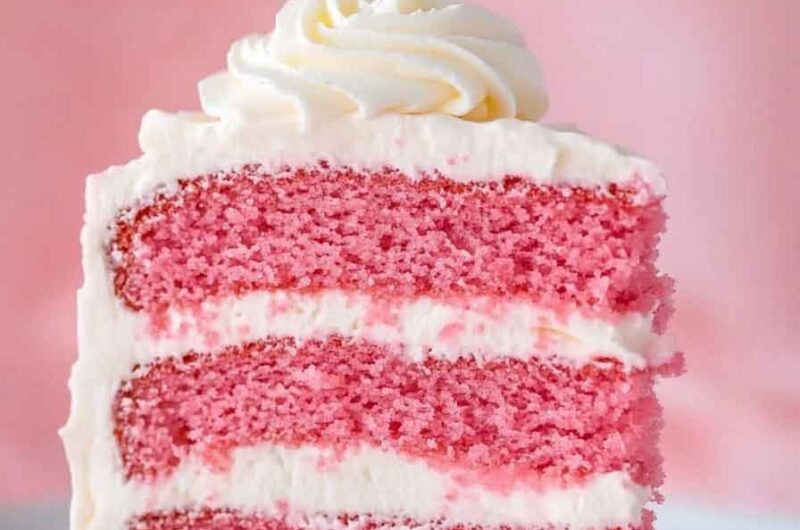
- Beautifully Pink: This cake’s bright and inviting color makes it a centerpiece for any dessert table.
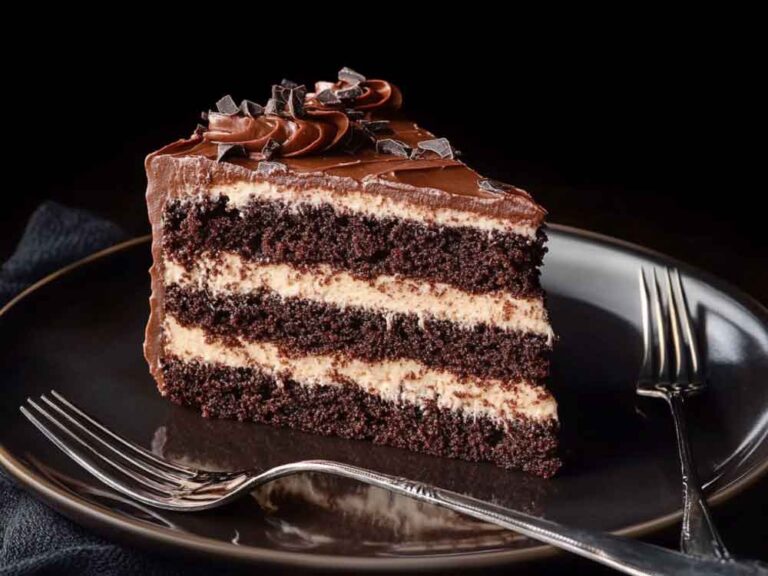
- Velvety Soft Texture: The cake is incredibly moist and tender, with a smooth crumb that melts in your mouth.
- Balanced Sweetness: With just the right amount of sweetness, the cake complements the stabilized whipped cream perfectly.
- Perfect for Special Occasions: Whether it’s a party or a casual get-together, this cake is a guaranteed showstopper.
- A Unique Twist on Red Velvet Cake: If you love red velvet, pink velvet is an equally delicious and visually striking alternative.
What You Need to Know Before You Start
Prep Time & Cook Time:
- Prep Time: 15 minutes
- Cook Time: 30 minutes
- Total Time: About 45 minutes
Servings:
- This recipe yields about 12-16 servings, depending on slice size. It’s perfect for sharing with family or guests.
Difficulty:
- This cake is easy enough for beginners, but it’s sure to impress even the most experienced bakers.
Required Kitchen Tools
Before you start, make sure you have the following kitchen tools:
- 2 round 9-inch cake pans (or 1 9-inch pan for a single-layer cake)
- Hand or stand mixer
- Measuring cups and spoons
- Mixing bowls
- Rubber spatula
- Cooling rack
- Parchment paper (optional for easy cake removal)
Ingredients for the Pink Velvet Cake
Here’s everything you need to make the light and fluffy pink velvet cake:
For the Pink Velvet Cake:
- Cake Flour (13 oz): Ensures a soft, tender crumb for the cake.
- Granulated Sugar (12 oz): Adds the sweetness that balances the tang of the buttermilk.
- Salt (1 teaspoon): Enhances the flavors and balances the sweetness.
- Baking Powder (1 tablespoon): Helps the cake rise for a light texture.
- Baking Soda (½ teaspoon): Works with the acidic buttermilk to give the cake its airy structure.
- Egg Whites (5 oz, room temperature): Adds to the lightness and tenderness of the cake.
- Vegetable Oil (4 oz): Keeps the cake moist and adds to its soft texture.
- Buttermilk (10 oz, room temperature): Provides the cake’s tangy flavor and contributes to its softness.
- Unsalted Butter (6 oz, softened): Adds richness and flavor.
- Vanilla Extract (2 teaspoons): Enhances the flavor of the cake.
- Electric Pink Food Coloring (2 drops): Gives the cake its iconic bright pink color.
For the Stabilized Whipped Cream:
- Heavy Whipping Cream (24 oz): The base of the whipped cream, adding a creamy, smooth texture.
- Powdered Sugar (4 oz): Sweetens the whipped cream without making it too heavy.
- Powdered Gelatin (2 teaspoons): Helps stabilize the whipped cream so it holds its shape longer.
- Cold Water (1 tablespoon): Used to dissolve the gelatin.
- Vanilla Extract (1 teaspoon): Adds flavor to the whipped cream.
- Fresh Raspberries (optional): Adds a touch of color and a fresh, tart contrast to the sweet cake.
Step-by-Step Instructions for Pink Velvet Cake
1. Prepare the Oven and Cake Pans
Start by preheating your oven to 350°F (177°C). Grease your cake pans with butter or non-stick spray and line the bottom with parchment paper for easy removal. This ensures your cakes won’t stick and will come out beautifully.
2. Mix the Dry Ingredients
In a medium bowl, whisk together the cake flour, baking powder, baking soda, and salt. Set this aside. Sifting the cake flour before mixing helps to create a smooth, airy batter.
3. Cream the Butter and Sugar
In a large bowl, use a hand or stand mixer to beat the unsalted butter and granulated sugar together until the mixture is light and fluffy. This should take about 2-3 minutes. The sugar helps to incorporate air into the butter, making the cake lighter.
4. Add the Wet Ingredients
Add the egg whites, buttermilk, and vegetable oil into the butter-sugar mixture. Beat on medium speed until well combined. The oil and buttermilk will keep the cake moist, while the egg whites will help the cake rise.
5. Add the Dry Ingredients
Gradually add the dry ingredients to the wet ingredients, mixing on low speed. Once combined, increase the speed to medium and beat for another 1-2 minutes until smooth. Be careful not to overmix, as this can lead to a dense cake.
6. Add the Pink Food Coloring
Now, add the electric pink food coloring and vanilla extract to the batter. Mix until the color is evenly distributed. You can adjust the amount of food coloring based on how vibrant you want your cake to be.
7. Bake the Cake
Pour the batter evenly into the prepared cake pans. Tap the pans gently on the counter to remove any air bubbles. Bake for 25-30 minutes, or until a toothpick inserted into the center comes out clean.
Once baked, remove the cakes from the oven and let them cool in the pans for 10 minutes before transferring them to a wire rack to cool completely.
How to Make the Stabilized Whipped Cream
1. Dissolve the Gelatin
In a small bowl, mix powdered gelatin with cold water. Let it sit for 5 minutes to bloom. Once bloomed, heat the mixture gently in the microwave for about 15-20 seconds until the gelatin dissolves completely. Set aside to cool.
2. Whip the Cream
In a large mixing bowl, beat the heavy whipping cream on medium-high speed until soft peaks form. Slowly add the powdered sugar and continue beating until stiff peaks form.
3. Add the Gelatin Mixture
Once the whipped cream has reached stiff peaks, slowly pour in the cooled gelatin mixture and vanilla extract. Whip the mixture for another minute to ensure the whipped cream is stabilized and smooth.
How to Assemble the Pink Velvet Cake
1. Level the Cake Layers
Once the cakes are completely cool, use a serrated knife to level the top of each cake layer. This helps ensure an even, professional-looking cake when it’s assembled.
2. Apply the Whipped Cream
Place one layer of cake on a serving platter. Using a spatula, spread a generous amount of the stabilized whipped cream over the first layer. Make sure to cover it evenly.
3. Stack the Cake Layers
Place the second cake layer on top of the whipped cream. Gently press down to ensure the layers stick together.
4. Frost the Cake
Spread the remaining stabilized whipped cream over the top and sides of the cake. You can smooth it out for a clean finish or create a textured pattern using the back of a spoon for a more rustic look.
5. Decorate (Optional)
To make the cake even more stunning, you can decorate the top with fresh raspberries, edible flowers, or a sprinkle of pink sugar. These extra touches add both color and texture, making the cake even more irresistible.
How to Serve Pink Velvet Cake
Serving Suggestions:
- On Its Own: This cake is delicious enough to be enjoyed without any additions. Simply slice and serve for a delightful dessert.
- With Fresh Berries: Add a side of fresh raspberries or strawberries to balance the sweetness of the cake.
- For Special Occasions: Serve at birthday parties, baby showers, or any special event. The pink color makes it perfect for celebrations.
- Pair with Tea or Coffee: Pink Velvet Cake pairs wonderfully with a cup of tea or coffee, making it an ideal treat for an afternoon gathering.

Storing Pink Velvet Cake
- Unfrosted Cake: If you have leftover cake layers, store them in an airtight container at room temperature for up to 3 days.
- Frosted Cake: Store any leftover cake in the refrigerator in an airtight container. The stabilized whipped cream will keep it fresh for about 4 days. Just remember to bring it to room temperature before serving for the best taste and texture.
Nutrition Information
| Serving Size | Calories | Fat | Carbs | Protein |
|---|---|---|---|---|
| 1 slice (1/12 of the cake) | 280 | 16g | 32g | 3g |
(Note: Nutrition information is an estimate based on standard ingredients and portion sizes. Actual values may vary.)
The Ultimate Guide to Pink Velvet Cake
Course: Cakes4
servings30
minutes40
minutes300
kcalIngredients
- For the Pink Velvet Cake:
13 oz cake flour
12 oz granulated sugar
1 teaspoon salt
1 tablespoon baking powder
½ teaspoon baking soda
5 oz egg whites (room temperature)
4 oz vegetable oil
10 oz buttermilk (room temperature)
6 oz unsalted butter (softened)
2 teaspoons vanilla extract
2 teaspoons vanilla extract
- For the Stabilized Whipped Cream:
24 oz heavy whipping cream
4 oz powdered sugar
2 teaspoons powdered gelatin
1 tablespoon cold water
1 teaspoon vanilla extract
Fresh raspberries (optional)
Directions
- Preheat the oven to 350°F (177°C). Grease and line your cake pans.
- Mix the dry ingredients in one bowl and the wet ingredients in another.
- Combine the wet and dry ingredients until smooth, then add the pink food coloring.
- Bake for 25-30 minutes, cool the cakes, and level them.
- Whip the cream, stabilizing it with gelatin, and assemble the cake with whipped cream layers.
- Frost and decorate the cake, and serve.
Pink Velvet Cake FAQs
1. Can I make this cake ahead of time?
Yes, you can make the cake layers ahead of time and store them at room temperature. Frost the cake closer to serving for the freshest taste.
2. Can I use red food coloring instead of pink?
While red food coloring will work, it will give the cake a red velvet appearance rather than the soft pink shade. Stick with pink food coloring for the best aesthetic.
3. How can I make this cake without buttermilk?
If you don’t have buttermilk, you can make a substitute by mixing 1 tablespoon of lemon juice or vinegar with 1 cup of milk. Let it sit for 5 minutes to curdle before using.
Conclusion
Pink Velvet Cake is a gorgeous and delicious dessert that will impress anyone who lays eyes on it. Its light, fluffy texture, balanced sweetness, and vibrant pink color make it perfect for all kinds of special occasions. Whether you’re serving it for a birthday or just enjoying a sweet treat, this cake will always be a hit!