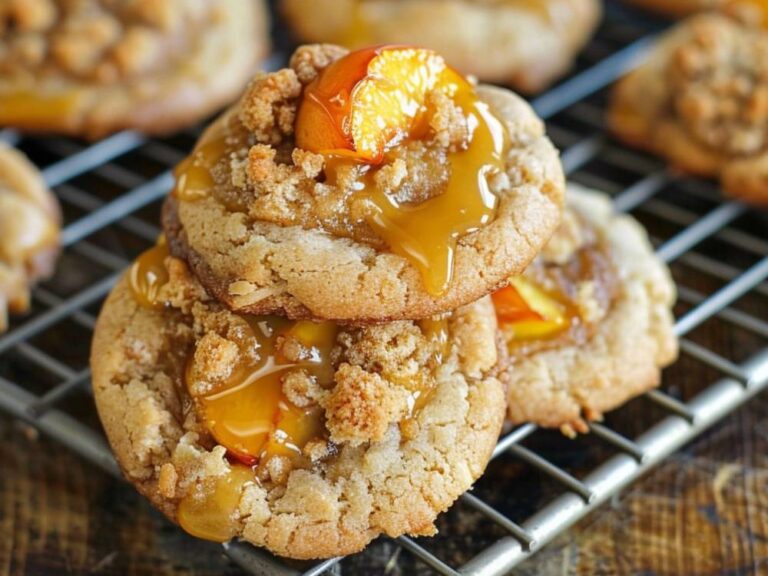
Easy Peanut Butter Blossom Cookies Recipe
These peanut butter blossom cookies? Oh wow—they’re the kind that disappear fast.
One bite, and you’re hooked. Trust me.
I made them one afternoon just for fun.
They were soft, warm, and had that melty chocolate kiss right on top.
Now they’re my go-to for quick cookie joy.
They’re simple, cozy, and taste like childhood.
Peanut butter and chocolate? Always a yes.
And the best part—they’re super easy.
Wanna bake a batch too?
I’ll show you how I make them step-by-step.
Let’s do it together—it’s really that simple.

Why You’ll Love This Recipe
- Soft and Chewy: The peanut butter makes every bite melt in your mouth.
- Kid-Approved: My little ones always grab one before they’re even cool.
- Easy to Make: Simple pantry ingredients. No mixer needed.
- Classic Holiday Cookie: These always show up in our December cookie box.
- Perfect Combo: That kiss of chocolate in the middle? It’s the best part.
What You Need to Know Before You Start
Prep Time & Bake Time:
Prep Time: 15 minutes
Chill Time (Optional): 30 minutes
Bake Time: 8–10 minutes
Total Time: About 45 minutes
Servings:
This makes about 24 cookies. Want more? Double the recipe — they go quick.
Difficulty:
Easy. Great for beginners or baking with kids.
Required Kitchen Tools
Wire rack for cooling
Mixing bowls
Wooden spoon or hand mixer
Baking sheet
Parchment paper (or silicone mat)
Small cookie scoop (optional)

Ingredients for Peanut Butter Blossom Cookies
These cookies are made with just a few things. You might already have them in your kitchen. Here’s what I use:
- Unsalted butter – Softened, not melted. It helps the cookies stay rich and soft.
- Creamy peanut butter – The main flavor star. I use regular peanut butter, not natural.
- Light brown sugar – Adds a soft texture and sweet, rich taste.
- Granulated sugar – For sweetness and rolling the dough balls.
- Salt – Just a little to balance the sweetness.
- All-purpose flour – Gives the cookies their shape.
- Baking soda – Helps them puff up just right.
- Hershey’s Kisses – Pressed on top right after baking. You can also use your favorite chocolate candy.
Optional:
- More granulated sugar – To roll the dough in before baking. Makes the cookies sparkle and adds a slight crunch.
Variations for Peanut Butter Blossom Cookies
Want to switch it up? Try these ideas:
- Use Crunchy Peanut Butter: Adds a bit of texture to each bite.
- Try Almond Butter or Sunflower Butter: Great if you need a peanut-free option.
- Add a Pinch of Cinnamon: It gives a warm twist that pairs well with the chocolate.
- Change the Candy: Swap kisses for mini peanut butter cups or chocolate chunks.
- Dip Half in Chocolate: Once cool, dip half the cookie in melted chocolate for a pretty look.

How to Make Peanut Butter Blossom Cookies (Step-by-Step)
1. Preheat the Oven
Turn your oven to 350°F (177°C). Line a baking sheet with parchment paper or a silicone mat. This keeps the cookies from sticking.
2. Mix the Wet Ingredients
In a big bowl, mix softened butter and peanut butter until smooth.
Add brown sugar and granulated sugar. Stir until it looks creamy.
Crack in the egg and add a little vanilla if you want (optional). Mix again.
3. Add the Dry Ingredients
Pour in the flour, baking soda, and a pinch of salt.
Stir everything together until it turns into soft cookie dough.
4. Shape the Dough
Scoop small bits of dough and roll into balls. About 1-inch size.
If you want, roll them in extra sugar for a sweet, sparkly touch.
5. Bake the Cookies
Place them on the baking sheet, a couple inches apart.
Bake for 8 to 10 minutes, until the edges are just set. They should still look soft in the middle.
6. Add the Chocolate
Right after baking, press a Hershey’s Kiss into the center of each warm cookie.
Let them cool on the sheet for 5 minutes, then move to a wire rack.
How to Serve Peanut Butter Blossom Cookies
These cookies are great anytime. But here’s how we like them:
- With milk – Classic combo.
- On a holiday tray – Add them with sugar cookies and fudge.
- As a gift – Wrap them in a bag or box with a bow.
- Late-night snack – Warm one up in the microwave for a soft, melty treat.

How to Store Peanut Butter Blossom Cookies
- Room Temperature:
Keep them in an airtight container for up to 5 days. They stay soft and tasty. - Freezer:
Want to save some for later? Freeze the cookies (or dough balls) for up to 3 months. If freezing after baking, make sure they’re fully cooled first. Just thaw at room temp when ready to eat. - Make-Ahead Tip:
You can roll the dough into balls, freeze them, and bake later. Just add a minute or two to the bake time. Press in the chocolate after baking, as usual.
Tips and Tricks for Success
- Don’t overbake. The centers should look a little soft when they come out.
- Chill the dough for 20–30 minutes if it feels sticky.
- Press the kisses in gently — just enough to make them stick.
- Unwrap the chocolates before baking so you’re ready to go.
- Want extra flair? Sprinkle a little flaky salt on top.
Nutrition (Per Cookie, Approximate)
| Calories | Fat | Carbs | Sugar | Protein |
|---|---|---|---|---|
| 130 | 7g | 15g | 9g | 2g |
Easy Peanut Butter Blossom Cookies Recipe
Course: Cookie24
cookies15
minutes8
minutes130
kcal23
minutesIngredients
1/2 cup unsalted butter, softened
1/2 cup creamy peanut butter
1/2 cup light brown sugar, packed
1/4 cup granulated sugar (plus extra for rolling)
1 large egg
1/2 tsp vanilla extract (optional)
1 and 1/2 cups all-purpose flour
3/4 tsp baking soda
1/4 tsp salt
24 Hershey’s Kisses, unwrapped
Directions
- Preheat oven to 350°F (177°C). Line baking sheets with parchment paper.
- In a bowl, cream butter and peanut butter until smooth. Add both sugars and mix.
- Beat in egg and vanilla (if using).
- Stir in flour, baking soda, and salt. Mix until dough forms.
- Scoop dough and roll into 1-inch balls. Roll in extra sugar, if desired.
- Place on baking sheet and bake for 8–10 minutes.
- Remove from oven and press a chocolate kiss into each cookie center.
- Cool on the baking sheet for 5 minutes, then move to a rack to cool completely.
Peanut Butter Blossom FAQs
Can I use natural peanut butter?
It’s best to use regular peanut butter. Natural ones can be too oily or dry.
What if I don’t have Hershey’s Kisses?
Use chocolate chunks, mini cups, or even a square of dark chocolate.
Can I freeze the dough?
Yes! Freeze the rolled dough balls for easy baking later.
Why do my cookies crack?
That’s normal and part of their charm! If they’re cracking too much, try chilling the dough for 30 minutes before baking.
Conclusion
These peanut butter blossom cookies are one of those treats that never go out of style. They’re sweet, soft, and always a hit — whether it’s the holidays or just a Tuesday afternoon. I’ve been baking these for years, and they never last long on the plate.
Hope you love them like we do. 💛


