Ultimate Mango Cheesecake Recipe
Love mangoes? Love cheesecake? Well, this one’s like a tropical dream come true.
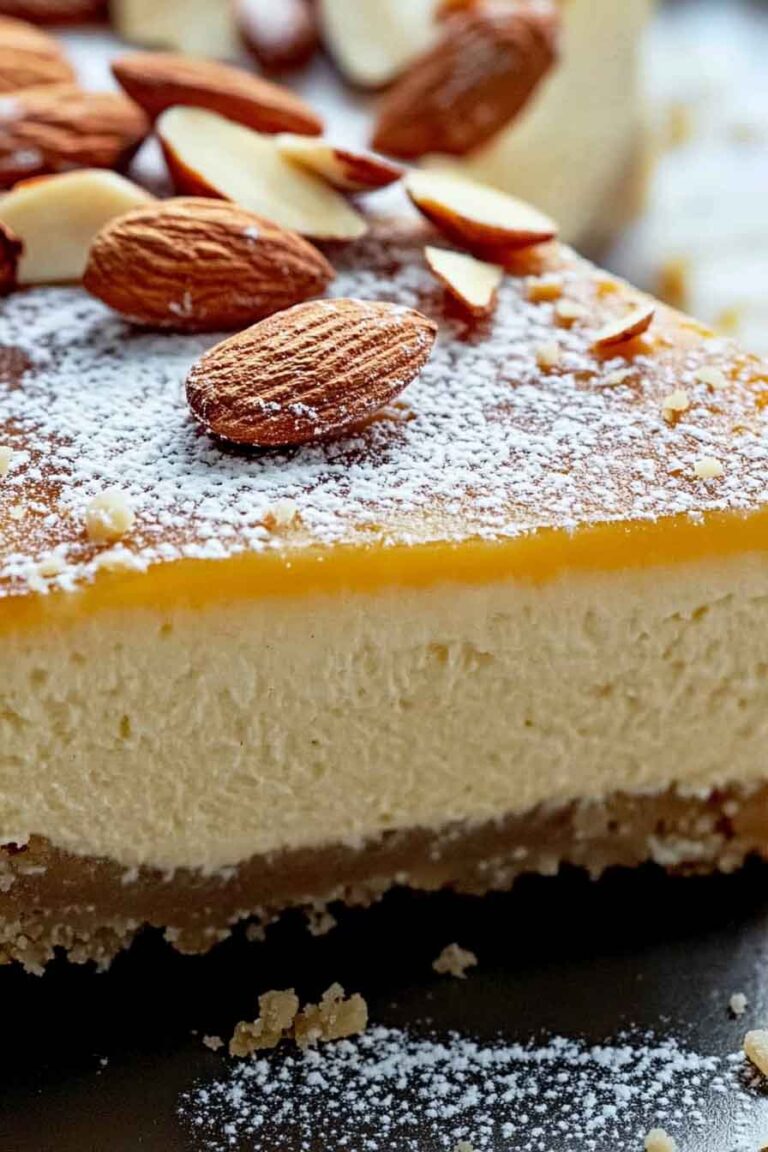
I made it on a warm day, and honestly, it was the perfect treat. Creamy, smooth, and bursting with fresh mango flavor in every bite.
It’s super chill (literally) and doesn’t need a ton of work. Great for summer parties, birthdays, or just mango lovers like me.
Wanna bring a little sunshine to your dessert plate? Let’s make this mango cheesecake together—it’s a total mood.

Why You’ll Love This Recipe
- Tropical Flavor Bomb: Mango puree makes this cheesecake bright, fresh, and naturally sweet.
- No-Bake Simplicity: No oven? No problem. This cheesecake sets beautifully in the fridge.
- Light but Creamy: Thanks to the whipped cream and cream cheese combo, it’s rich but not too heavy.
- Make-Ahead Friendly: Chill overnight and serve the next day—it holds up perfectly.
- Perfect for Summer or Celebrations: The color, texture, and flavor make it a showstopper.
What You Need to Know Before You Start
Prep Time & Chill Time:
Prep Time: 25 minutes
Chill Time: 6+ hours (or overnight)
Total Time: ~6 hours 30 minutes
Servings:
One 8-inch cheesecake, about 8–10 slices
Difficulty:
Beginner-friendly, with simple steps and no baking required.
Required Kitchen Tools
- 8-inch springform pan
- Mixing bowls
- Hand or stand mixer
- Silicone spatula
- Measuring cups and spoons
- Small saucepan
- Whisk
Ingredients
For the Base:
- 300g Digestive biscuits (or graham crackers)
- 150g Unsalted butter, melted
For the Cheesecake Filling:
- 400g Full-fat cream cheese (room temp)
- 100g Icing sugar (powdered sugar)
- 300ml Double cream (cold)
- 300g Mango pulp (fresh or canned)
- 12g Gelatin powder (1 sachet)
- 1–3 tbsp Boiling water
For the Mango Jelly Topping:
- 150g Mango pulp
- 6g Gelatin powder (½ sachet)
- 75ml Boiling water
For Decoration:
- 150ml Double cream, whipped
- 2 tbsp Icing sugar (for sweetening the cream)
- 1 Mango, diced
- 1–2 Passion fruits (optional, for added flair)
How to Make Ultimate Mango Cheesecake
Step-by-Step Instructions
1. Make the Base
I start by crushing the biscuits until they’re fine—either in a food processor or with a rolling pin inside a sealed bag. Then I mix the crumbs with the melted butter until it feels like damp sand.
Press that mixture firmly into the bottom of a springform pan. Use the back of a spoon to smooth it out evenly. Pop it into the fridge to chill while I prep the filling.
2. Prepare the Gelatin
I sprinkle the gelatin over a small bowl of boiling water (about 1–3 tablespoons). I let it sit for a minute to bloom, then stir until fully dissolved. It should be smooth with no lumps.
3. Whip the Cream
In a cold bowl, I whip the double cream until it holds soft peaks. You don’t want it too stiff—it should feel cloud-like.
4. Mix the Cheesecake Filling
In another bowl, I beat the cream cheese and icing sugar together until it’s smooth and lump-free. Then I add in the mango pulp and mix until fully combined.
Once that’s mixed, I stir in the dissolved gelatin. Finally, I fold in the whipped cream gently with a spatula to keep the texture light.
5. Assemble the Cheesecake
I pour the mango cheesecake filling over the chilled crust and smooth the top. Then it goes back into the fridge for at least 4–6 hours—overnight is even better for a firm, sliceable texture.
6. Make the Mango Jelly Topping
Once the cheesecake has set, I prepare the topping. I dissolve the gelatin in boiling water again (just like before), then mix it into the mango pulp.
Gently pour the topping over the cheesecake, using a spoon to soften the fall if needed. Return to the fridge and chill for another 1–2 hours until the jelly is firm.
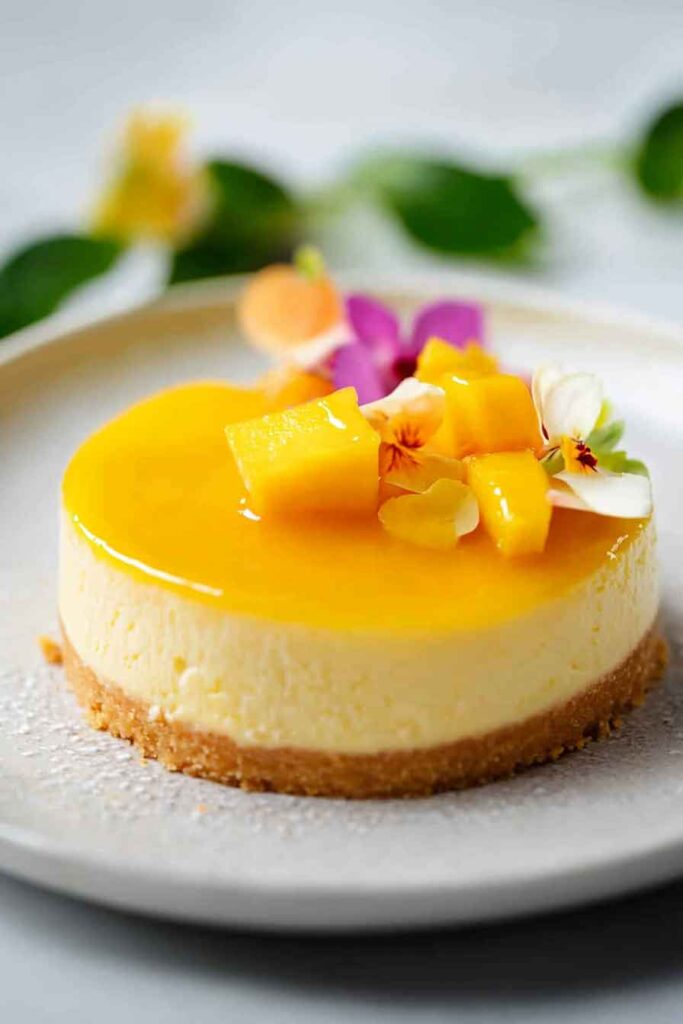
How to Serve & Decorate
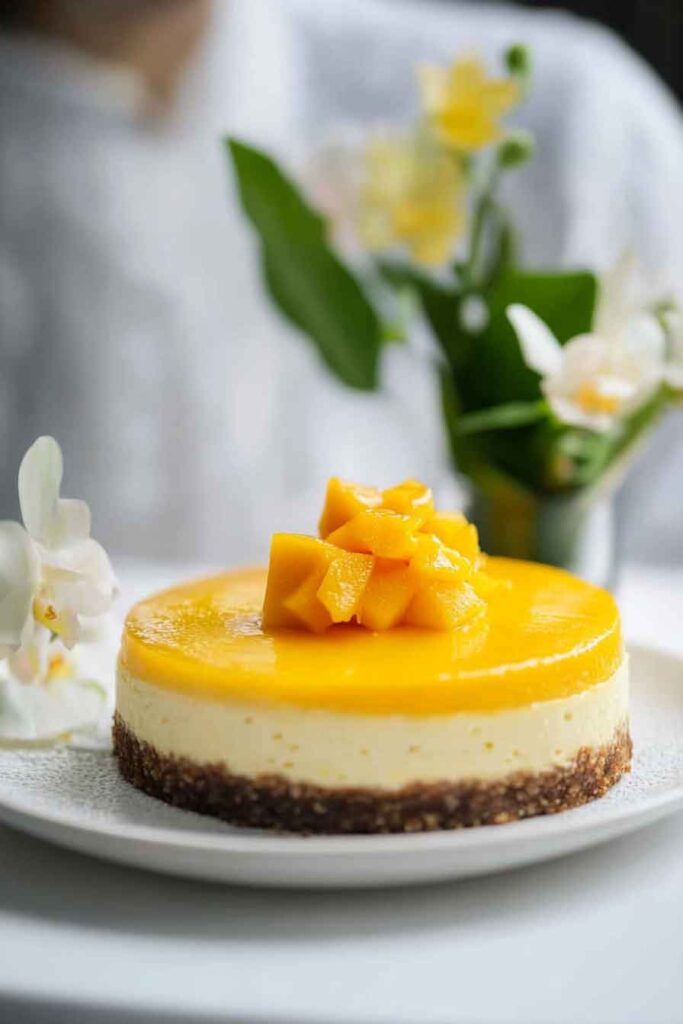
Before serving, I whip a little cream with icing sugar to soft peaks and pipe or spoon it around the edge of the cheesecake. Then I scatter diced mango pieces on top and sometimes add a few passion fruit seeds for a pop of color and tartness.
This dessert looks beautiful on its own—but it also shines when served with fresh berries or a drizzle of mango puree on the plate.
Storing Mango Cheesecake
- Fridge: Keep the cheesecake in the fridge, covered, for up to 4 days. I usually store it in the springform pan with a tight plastic wrap or lid.
- Freezer: Yes, you can freeze it! Slice it first, then wrap each piece tightly. It stays good for up to a month. Just thaw overnight in the fridge before serving.
Variations to Try
- Swap the Fruit: Use peach or passionfruit pulp instead of mango. Or try a mix!
- Add a Coconut Base: Replace half the biscuits with desiccated coconut for a tropical twist.
- Mini Versions: Make it in muffin tins lined with cupcake papers for single servings.
- Gelatin-Free Option: Use agar-agar if you’re looking for a vegetarian substitute—just adjust the quantity since it sets firmer than gelatin.
Tips and Tricks for Success
- Room Temp Cream Cheese: Always start with softened cream cheese for smooth mixing.
- Cold Whipping Cream: It whips better and gives volume. Chill your bowl and beaters too for best results.
- Chill Time Matters: Don’t rush the setting. Overnight chilling gives the best texture.
- Smooth Jelly Layer: Pour the topping gently—use the back of a spoon to avoid disturbing the cheesecake layer.

Nutrition Information (Per Slice, based on 10 servings)
| Nutrient | Amount |
|---|---|
| Calories | 365 kcal |
| Carbohydrates | 32 g |
| Sugars | 20 g |
| Fat | 25 g |
| Saturated Fat | 15 g |
| Protein | 4 g |
| Fiber | 1 g |
| Sodium | 210 mg |

Ultimate Mango Cheesecake Recipe
Course: Cakes8-10
slices25
minutes365
kcal6–8
hourIngredients
- For the Base:
300g Digestive biscuits (or graham crackers)
150g Unsalted butter, melted
- For the Cheesecake Filling:
400g Full-fat cream cheese, room temp
100g Icing sugar (powdered sugar)
300ml Double cream (cold)
300g Mango pulp (fresh or canned)
12g Gelatin powder (1 sachet)
1–3 tbsp Boiling water
- For the Mango Jelly Topping:
150g Mango pulp
6g Gelatin powder (½ sachet)
75ml Boiling water
- For Decoration:
150ml Double cream, whipped
2 tbsp Icing sugar
1 Mango, diced
1–2 Passion fruits (optional)
Directions
- Make the Base: Crush biscuits and mix with melted butter. Press into a springform pan. Chill.
- Dissolve Gelatin: Sprinkle gelatin over boiling water. Stir to dissolve.
- Whip the Cream: Beat until soft peaks form.
- Make Filling: Beat cream cheese and sugar. Add mango pulp and gelatin. Fold in whipped cream.
- Assemble: Pour filling over base. Chill 4–6 hours.
- Top with Jelly: Dissolve gelatin in boiling water. Mix with mango pulp. Pour gently over set cheesecake. Chill again until firm.
- Decorate: Pipe whipped cream, top with mango and passion fruit. Serve cold.
Mango Cheesecake FAQs
Can I use canned mango pulp?
Yes, and it’s often easier! Just make sure it’s smooth and unsweetened or adjust the sugar if it’s sweetened.
How do I know when it’s set?
The cheesecake should feel firm to the touch and not jiggle in the center.
Can I skip the jelly layer?
You can! The cheesecake tastes great on its own. But the mango jelly gives it a beautiful, glossy finish and more mango flavor.
What if I don’t have gelatin?
You can try agar-agar as a vegetarian substitute, but you’ll need to heat it to activate. Follow the package instructions.
Conclusion
This mango cheesecake has become one of my go-to desserts whenever I want something fresh but indulgent. It’s easy, fuss-free, and full of bright flavor. Whether you’re serving it at a summer picnic or just treating yourself at home, it delivers every time—no oven required.
Let it chill. Let it shine. And definitely save yourself a second slice.