How to Make the Perfect Lotus Biscoff Cake at Home
Ever tried Biscoff cookies and thought, “This should totally be a cake?” Same. So, I went for it—and wow, it turned out so good.
It’s soft, creamy, and full of that caramel-cookie flavor we all love. Plus, there’s Biscoff in every single layer—yup, even the frosting.
This cake looks fancy but is actually super easy to make. Perfect for birthdays, weekends, or when you just need a little treat.
Wanna try it too? Come on, I’ll show you how to make the perfect Lotus Biscoff cake right at home.
Why You’ll Love This Recipe
- Bold Biscoff Flavor: Every bite bursts with the rich, spiced cookie butter flavor we all crave.
- Creamy Dreamy Frosting: The Biscoff buttercream is smooth, thick, and lightly sweetened—perfect for spreading or piping.
- Soft and Tender Crumb: The cake layers are light, moist, and infused with crushed Biscoff cookies.
- Beautiful Yet Simple: Looks bakery-made, but you can whip this up in your own kitchen with just a little planning.
What You Need to Know Before You Start
Prep Time: 30 minutes
Bake Time: 30–35 minutes
Cooling & Decorating Time: About 1 hour
Total Time: Roughly 2 hours
Servings: Makes one 8-inch, 3-layer cake (serves 10–12)
Skill Level: Beginner-friendly but satisfying for experienced bakers too.
Required Kitchen Tools
- Three 8-inch round cake pans
- Parchment paper
- Mixing bowls
- Stand mixer or hand mixer
- Rubber spatula
- Cooling racks
- Offset spatula or bench scraper
- Optional: piping bag for decoration
Ingredients
For the Cake Layers
- 1 cup (226g) unsalted butter, softened
- 1 ½ cups (300g) granulated sugar
- 4 large eggs, room temperature
- 2 ½ cups (300g) cake flour
- 1 tablespoon baking powder
- ½ teaspoon salt
- 1 cup (240ml) whole milk, room temperature
- 1 tablespoon pure vanilla extract
- 1 cup crushed Biscoff cookies (about 12 cookies)
For the Biscoff Buttercream Frosting
- 1 ½ cups (340g) unsalted butter, softened
- 1 cup (250g) smooth Biscoff spread
- 3 ½ cups (420g) powdered sugar, sifted
- 2–3 tablespoons heavy cream (as needed for texture)
Optional Toppings
- Additional Biscoff cookies, crushed or whole
- Melted Biscoff spread (about ¼ cup) for a decorative drip
Variations for Lotus Biscoff Cake
Cupcake Version: Divide batter into cupcake tins and bake for 18–20 minutes.
Add Spice: A pinch of cinnamon or nutmeg in the batter for extra warmth.
Make It Chocolate: Swap ¼ cup flour for cocoa powder for a mocha Biscoff twist.
Use Cream Cheese: Replace half the butter in the frosting with cream cheese for tangy contrast.
Add a Crunch Layer: Spread crushed cookies between layers for added texture.
How to Make Lotus Biscoff Cake Step-by-Step Instructions
1. Prep Your Pans
Grease and line three 8-inch round cake pans with parchment paper. Preheat your oven to 350°F (177°C).
2. Cream the Butter and Sugar
In a large mixing bowl, beat softened butter and sugar together until light and fluffy (about 3–4 minutes). This adds air, which helps create that soft crumb.
3. Add Eggs and Vanilla
Add the eggs, one at a time, mixing well after each. Stir in the vanilla extract. Scrape down the sides to make sure everything’s evenly combined.
4. Mix the Dry Ingredients
In a separate bowl, whisk together the cake flour, baking powder, and salt. Fold in the crushed Biscoff cookies.
5. Combine Wet and Dry
Add the flour mixture to the wet ingredients in 3 additions, alternating with the milk. Begin and end with flour. Mix until just combined—don’t overmix!
6. Divide and Bake
Pour the batter evenly into the prepared pans. Smooth the tops. Bake for 30–35 minutes, or until a toothpick comes out clean.
Cool in the pans for 10 minutes, then transfer to a wire rack to cool completely.
How to Make the Biscoff Buttercream
1. Beat the Butter
In a clean bowl, beat softened butter on high speed until creamy (about 2 minutes).
2. Add the Biscoff
Add the Biscoff spread and beat until smooth and fully incorporated.
3. Add Powdered Sugar
Gradually mix in sifted powdered sugar, one cup at a time. Mix on low until incorporated, then beat on medium-high for fluffiness.
4. Adjust Consistency
Add heavy cream one tablespoon at a time until it reaches a spreadable, silky texture.
Assembly & Decoration
1. Level and Stack
If needed, level the cake layers with a serrated knife. Place the first layer on a cake stand or plate. Add a thick layer of frosting. Repeat with the second and third layers.
2. Frost the Outside
Spread a thin crumb coat around the sides and top. Chill for 15–20 minutes. Then add the final layer of frosting using a spatula or scraper.
3. Add the Drip (Optional)
Warm ¼ cup Biscoff spread in the microwave for 10–15 seconds until pourable. Drizzle along the edges of the cake.
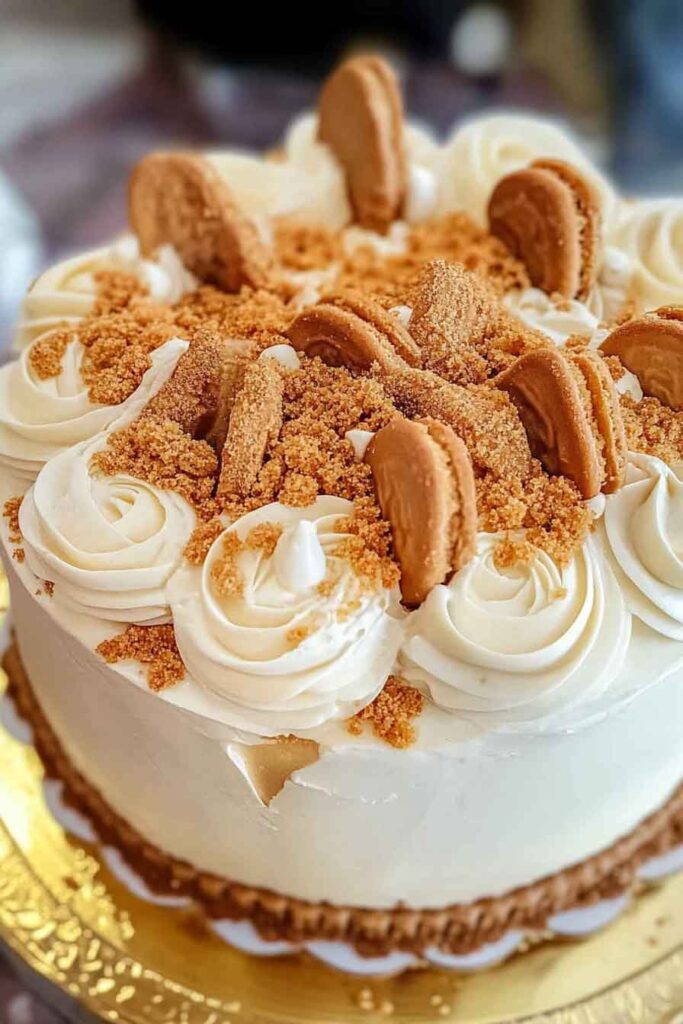
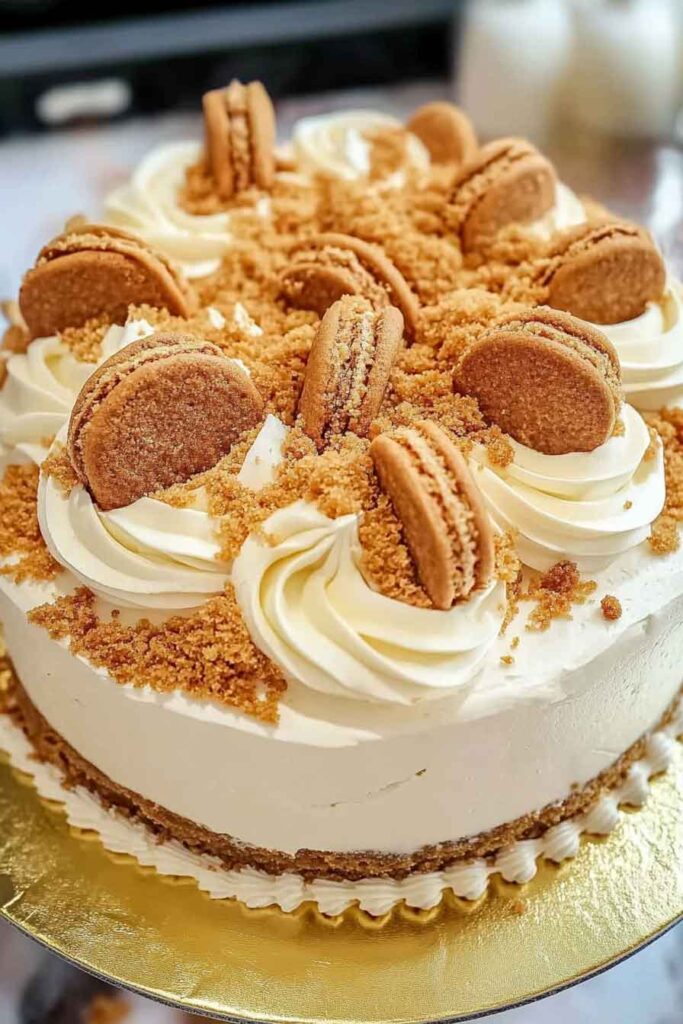
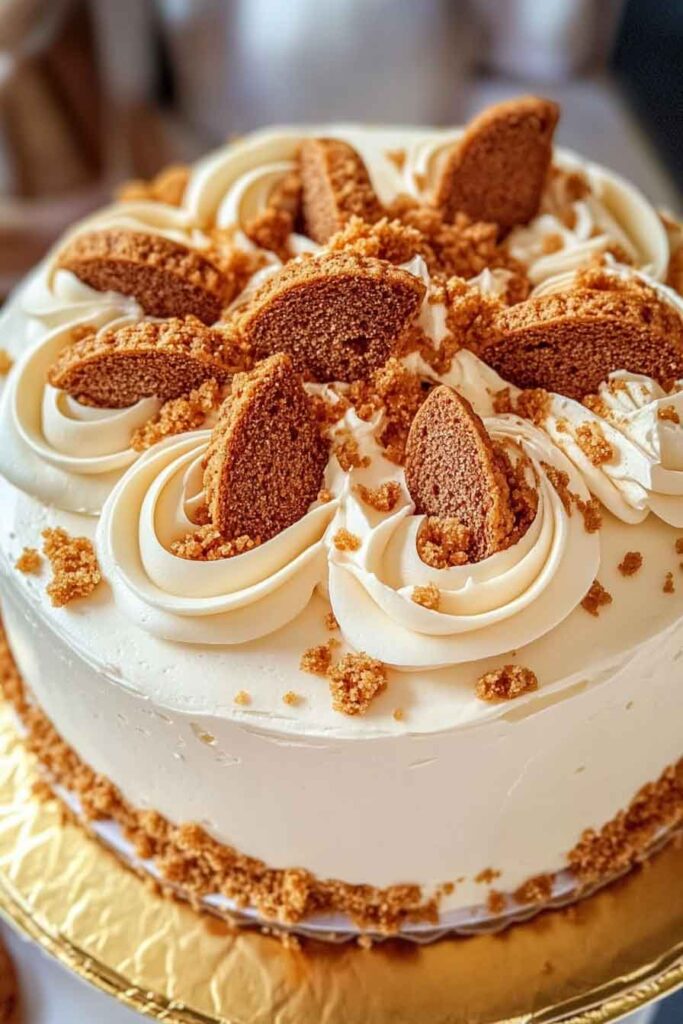
4. Garnish
Top with crushed cookies, cookie halves, or whole Biscoff for visual flair.
How to Serve Lotus Biscoff Cake
- With Coffee or Tea: The deep, caramel flavor pairs beautifully with warm drinks.
- At Parties: Slice into clean wedges for birthdays, brunches, or holidays.
- As a Layered Dessert: Serve chilled with a scoop of ice cream for extra indulgence.
Storing Lotus Biscoff Cake
- Room Temperature: Store the frosted cake at room temp for up to 2 days in a covered container.
- Refrigerator: Keeps well in the fridge for up to 5 days. Bring to room temp before serving for best texture.
- Freezing: You can freeze unfrosted cake layers (wrapped tightly) for up to 2 months. Thaw in the fridge overnight.
Tips and Tricks for Success
- Use Room Temp Ingredients: This helps the batter mix evenly and makes for a lighter cake.
- Sift the Sugar: For smooth, lump-free frosting, always sift the powdered sugar.
- Crush, Don’t Pulverize: Keep some small chunks in your Biscoff cookie crumbs for texture.
- Chill Between Layers: If your cake feels unstable, pop it in the fridge for 15 minutes between steps.
- Don’t Skip the Salt: A little salt enhances the sweetness and deepens the Biscoff flavor.
Nutrition (Per Slice – Based on 12 Servings)
| Component | Amount |
|---|---|
| Calories | ~490 kcal |
| Total Fat | 27g |
| Saturated Fat | 15g |
| Carbohydrates | 56g |
| Sugars | 39g |
| Protein | 4g |
| Fiber | 1g |
| Sodium | 180mg |

How to Make the Perfect Lotus Biscoff Cake at Home
Course: Cakes1 cake
servings30
minutes30
minutes490
kcalIngredients
- For the Cake Layers:
1 cup (226g) unsalted butter, softened
1 ½ cups (300g) granulated sugar
4 large eggs, room temperature
2 ½ cups (300g) cake flour
1 tbsp baking powder
½ tsp salt
1 cup (240ml) milk, room temperature
1 tbsp vanilla extract
1 cup crushed Biscoff cookies
- For the Biscoff Frosting:
1 ½ cups (340g) unsalted butter, softened
1 cup (250g) smooth Biscoff spread
3 ½ cups (420g) powdered sugar
2–3 tbsp heavy cream
- Optional Toppings:
Crushed or whole Biscoff cookies
Melted Biscoff spread for drips
Directions
- Preheat oven to 350°F (177°C). Grease and line three 8-inch pans.
- Cream butter and sugar until fluffy. Add eggs one at a time. Stir in vanilla.
- Whisk flour, baking powder, salt, and crushed cookies.
- Alternate adding dry ingredients and milk to the wet batter. Mix gently.
- Divide into pans. Bake 30–35 minutes. Cool completely.
- Make frosting: beat butter, add Biscoff, sugar, and cream until fluffy.
- Frost and layer cake. Decorate with melted spread and cookies. Chill if needed.
Lotus Biscoff Cake FAQs
Can I use all-purpose flour instead of cake flour?
Yes, but the cake will be slightly denser. Substitute with 1 cup all-purpose minus 2 tbsp, plus 2 tbsp cornstarch per cup.
What’s the best way to crush the Biscoff cookies?
Use a food processor or place them in a zip-top bag and crush with a rolling pin.
Can I make the frosting ahead of time?
Yes. Store in the fridge for up to 5 days. Let it soften and rewhip before using.
Can I make this as a sheet cake?
Absolutely! Use a 9×13-inch pan and bake for 35–40 minutes. Frost as desired.
Conclusion
This Lotus Biscoff Cake is everything you want in a homemade dessert—simple to make, rich in flavor, and stunning on any table. With layers of soft vanilla cake folded with cookie crumbs and topped with silky Biscoff buttercream, it’s a cozy yet classy treat. Whether it’s for a celebration or a weekend bake, this recipe brings bakery vibes straight to your kitchen.