Irresistible Crispy Chickpeas Recipe
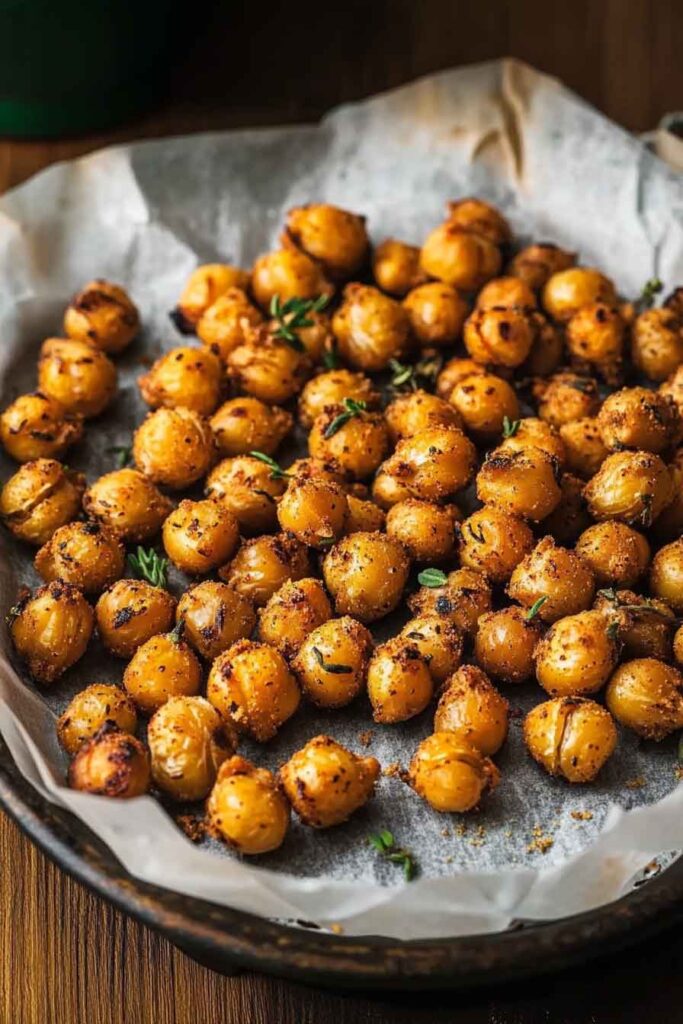
Ever snack on something so crispy you can’t stop? That’s what these chickpeas are. We munch ‘em by the handful.
They’re salty, crunchy, and super easy to make. I toss them on salads, soups… or just eat ‘em plain, straight from the pan.
Just a can of chickpeas, a little oil, and some seasoning. Roast ‘em up and boom—snack time magic.
Wanna try it? I’ll show you exactly how I make them. Let’s get crispy!
Why You’ll Love This Recipe
- Crispy Every Time: The secret roasting method ensures a golden crunch, not a soggy center.
- Just 4 Ingredients: Pantry-friendly and fuss-free.
- Naturally Gluten-Free & Vegan: A clean, protein-rich snack that suits many diets.
- Endlessly Adaptable: Go spicy, smoky, sweet, or savory with your own seasoning blends.
- Meal Prep Win: Stores well for up to a week, ready for grab-and-go munching.
What You Need to Know Before You Start
Prep Time: 10 minutes
Cook Time: 40 minutes
Total Time: About 50 minutes
Servings: Makes about 1.5 cups, enough for 3–4 snack servings or 6–8 salad toppings.
Difficulty: Beginner-friendly. A great starter recipe for roasting newbies.
Required Kitchen Tools
Here’s what you’ll need to make crispy chickpeas from scratch:
- Sheet pan (rimmed)
- Clean dish towel or paper towels
- Medium mixing bowl
- Spatula or spoon for tossing
- Optional: parchment paper for easier cleanup
Ingredients for Irresistible Crispy Chickpeas
These chickpeas are roasted until perfectly crunchy and lightly golden. Here’s what you’ll need (exact amounts are in the recipe card below):
- Cooked Chickpeas: Use canned or freshly cooked chickpeas, drained and thoroughly dried.
- Extra-Virgin Olive Oil: Helps crisp the chickpeas while adding rich flavor.
- Sea Salt: Enhances the nuttiness of the chickpeas.
- Paprika (Optional): Adds subtle warmth and color.
- Curry Powder (Optional): For an earthy, fragrant twist.
- Other Seasonings (Optional): Garlic powder, cumin, chili powder, or za’atar all work well.
Variations for Crispy Chickpeas
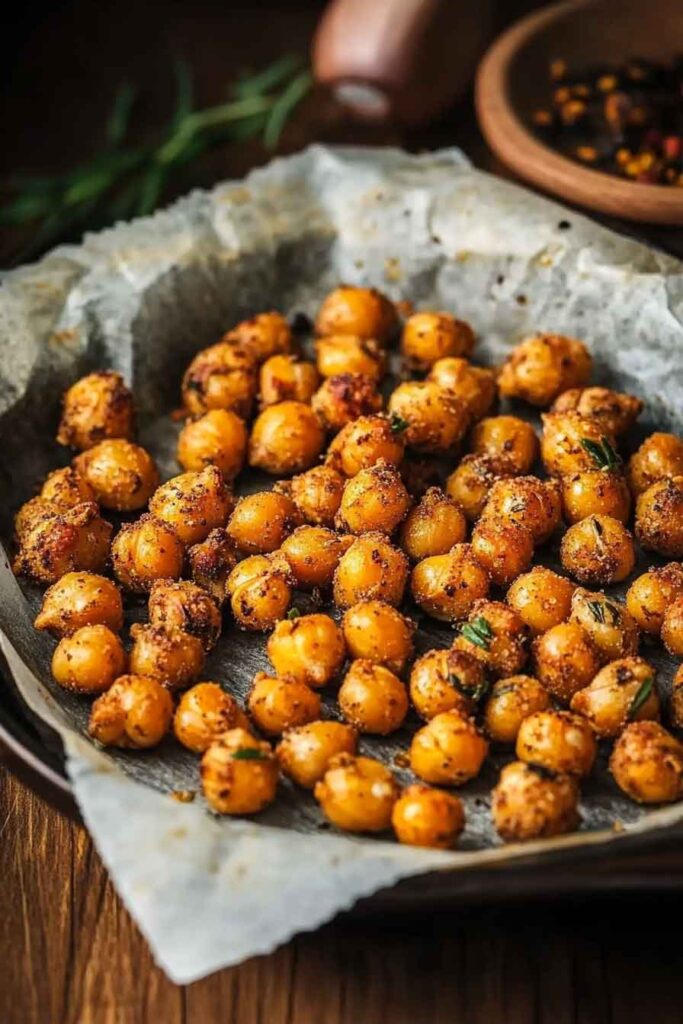
These chickpeas are a blank canvas for flavor. Here are some of our favorite seasoning twists to try:
- Smoky BBQ: Add ½ tsp smoked paprika, ¼ tsp chili powder, and a pinch of brown sugar.
- Za’atar Style: Toss with ½ tsp za’atar spice blend and a little lemon zest.
- Sweet Cinnamon Crunch: Add ½ tsp cinnamon and a pinch of coconut sugar after roasting.
- Spicy Garlic: Mix in garlic powder and cayenne for bold, spicy flavor.
- Ranch-Inspired: Use a blend of dried dill, onion powder, garlic powder, and parsley.
How to Make Crispy Chickpeas: Step-by-Step Instructions
1. Preheat the Oven
Set your oven to 400°F (200°C) and line a rimmed baking sheet with parchment paper (optional, but makes cleanup easier).
2. Dry the Chickpeas
Drain and rinse your chickpeas thoroughly. Spread them on a clean kitchen towel or paper towels. Pat them dry and remove any loose skins—this helps them crisp up.
Tip: The drier the chickpeas, the crispier the result. Let them air-dry for 10 minutes if you have time.
3. Toss with Oil and Salt
Transfer the chickpeas to a bowl. Add olive oil and sea salt, and toss well to coat. Add optional seasonings if using (except sweet ones—save those for after baking).
4. Spread and Roast
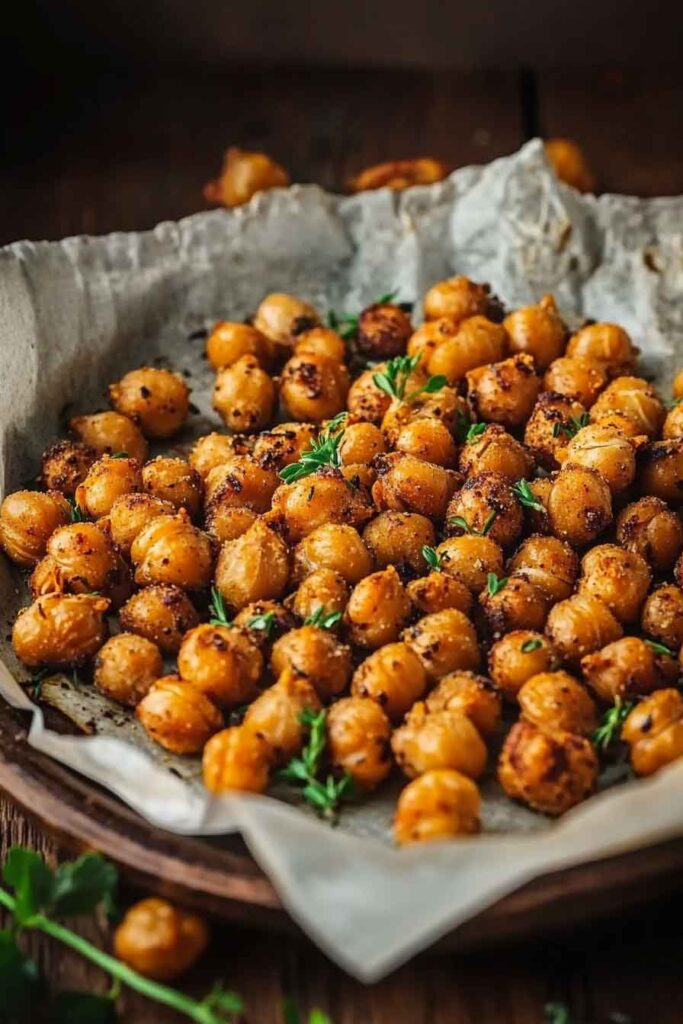
Spread the chickpeas in a single layer on your prepared baking sheet. Roast for 35–40 minutes, shaking the pan every 10–15 minutes to prevent burning and ensure even crisping.
Tip: The chickpeas are done when they’re deep golden brown and sound hard when you tap them with a spoon.
5. Cool and Season
Let them cool for at least 10 minutes on the tray. This helps them finish crisping. If using sweet or delicate seasonings (like cinnamon sugar), add them now while they’re warm but not hot.
How to Serve Crispy Chickpeas
These crunchy bites are more than just a snack. Here’s how to put them to work:
- As a Snack: Eat them straight from the jar as a healthy, protein-rich option.
- On Salads: Sprinkle over leafy greens, grain bowls, or couscous for texture.
- In Soups: Use them like croutons for extra crunch in tomato or lentil soups.
- With Roasted Veggies: Toss together with roasted carrots, squash, or sweet potatoes.
- On Toast: Mash avocado on toast and top with crispy chickpeas for a savory finish.
Storing Crispy Chickpeas
- Cool First: Let chickpeas cool completely before storing to prevent steam and sogginess.
- Use Airtight Containers: Store in a glass jar or airtight container at room temperature.
- Best Within 3–4 Days: For the crispiest texture, eat within a few days. They may soften slightly over time.
- Refresh if Needed: To re-crisp, pop them in a 350°F oven for 5–10 minutes.
Tips and Tricks for Success
- Dry, Dry, Dry: The drier your chickpeas, the better the crunch. Air-drying works wonders.
- Don’t Crowd the Pan: Overlapping leads to steaming, not crisping. Use two pans if needed.
- Season Wisely: Add delicate spices after roasting to avoid burning.
- Shake Often: Move the pan around every 10–15 minutes so they roast evenly on all sides.
- Keep an Eye Out: All ovens vary. Some chickpeas brown faster, so check at 30 minutes.

Nutrition Information
| Nutrient (Per ¼ Cup) | Amount |
|---|---|
| Calories | ~120 |
| Protein | 5g |
| Fat | 4.5g |
| Carbohydrates | 15g |
| Fiber | 4g |
| Sugar | 1g |
| Sodium | ~180mg |
Note: Nutrition may vary depending on seasoning and oil quantity.
Irresistible Crispy Chickpeas Recipe
Course: Vegan10
minutes40
minutes~120
kcal50
minutesIngredients
1 can (15 oz) chickpeas, drained and rinsed
1 tablespoon extra-virgin olive oil
½ teaspoon sea salt
- Optional:
½ teaspoon paprika
½ teaspoon curry powder
¼ teaspoon garlic powder, za’atar, or cumin
Directions
- Preheat oven to 400°F (200°C). Line a baking sheet with parchment paper if desired.
- Dry chickpeas thoroughly using a clean towel or paper towels. Remove any loose skins.
- Toss chickpeas in a bowl with olive oil, sea salt, and any dry spices.
- Spread chickpeas in a single layer on a baking sheet.
- Roast for 35–40 minutes, shaking the pan every 10–15 minutes. Chickpeas should be golden brown and crisp.
- Cool for 10 minutes. Add sweet or delicate seasonings if using.
- Store in an airtight container at room temperature once fully cool.
Crispy Chickpeas FAQs
Can I use dried chickpeas instead of canned?
Yes. Soak and cook them first, then dry thoroughly. Make sure they’re fully cooked before roasting.
Why are my chickpeas not crunchy?
They likely weren’t dry enough or were overcrowded on the pan. Also, letting them cool helps them crisp more.
Can I air-fry them instead?
Absolutely. Air fry at 375°F for 15–20 minutes, shaking halfway through.
Are crispy chickpeas healthy?
Yes! They’re packed with plant-based protein and fiber, and you control the oil and salt.
Conclusion
Crispy chickpeas are one of those little joys you can always count on—simple to make, easy to flavor, and good for just about everything. Once you make them once, you’ll find yourself roasting a batch weekly, whether for snacking, sprinkling, or sharing.
Give them a try and see how quickly they become a staple in your kitchen.



One Comment