Chocolate Marble Cheesecake Recipe
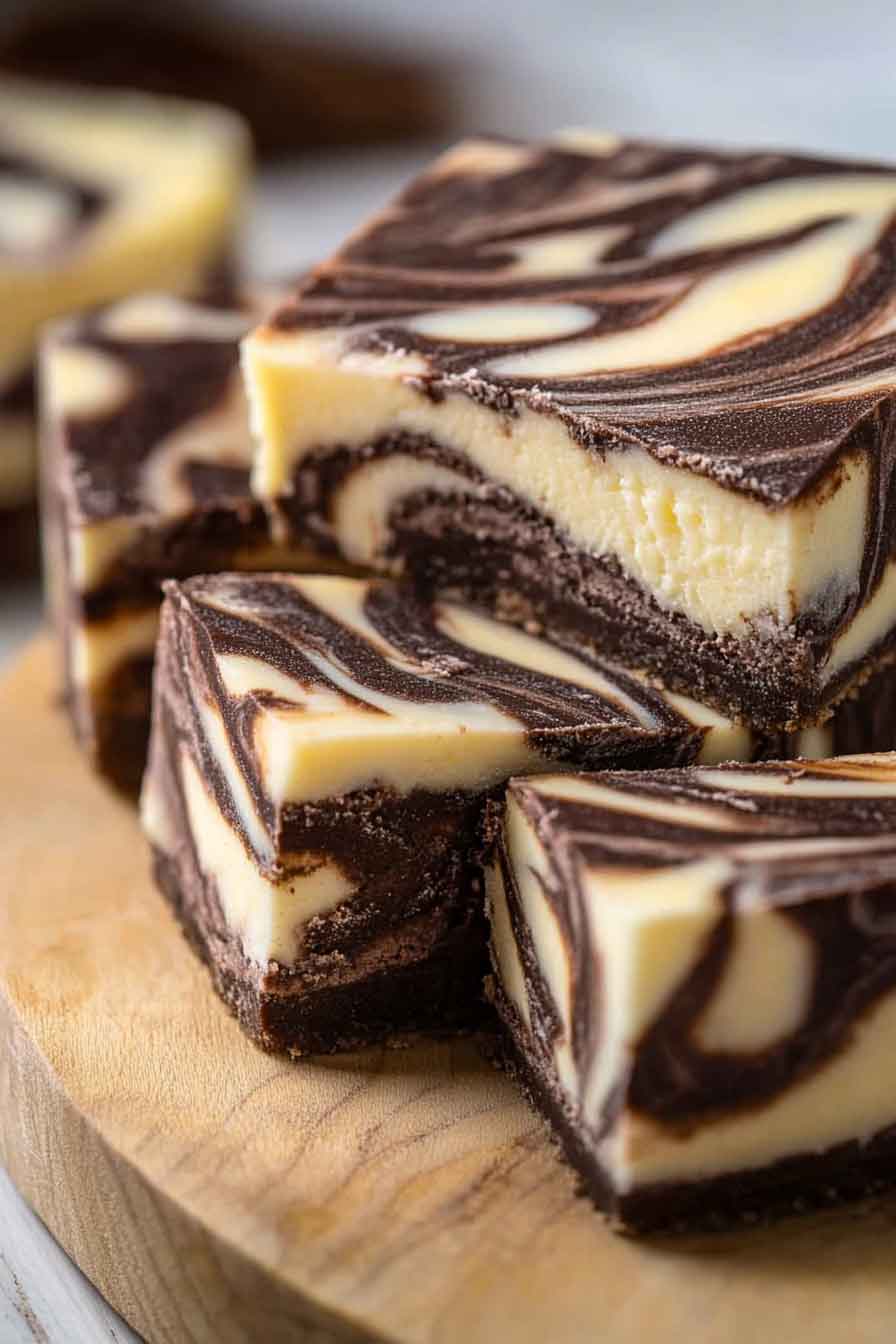
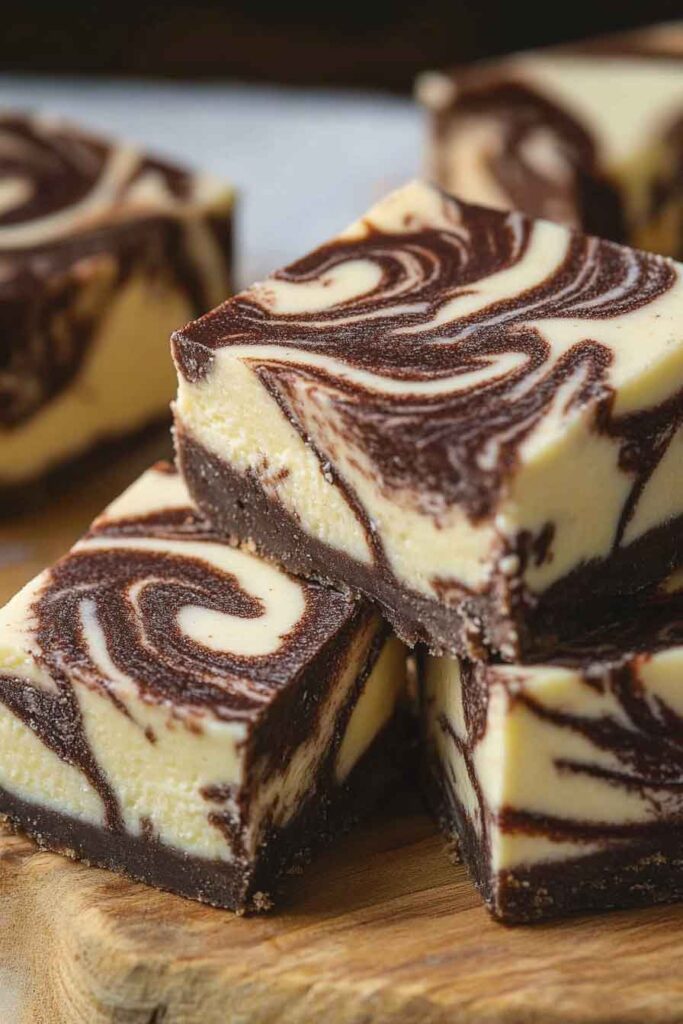
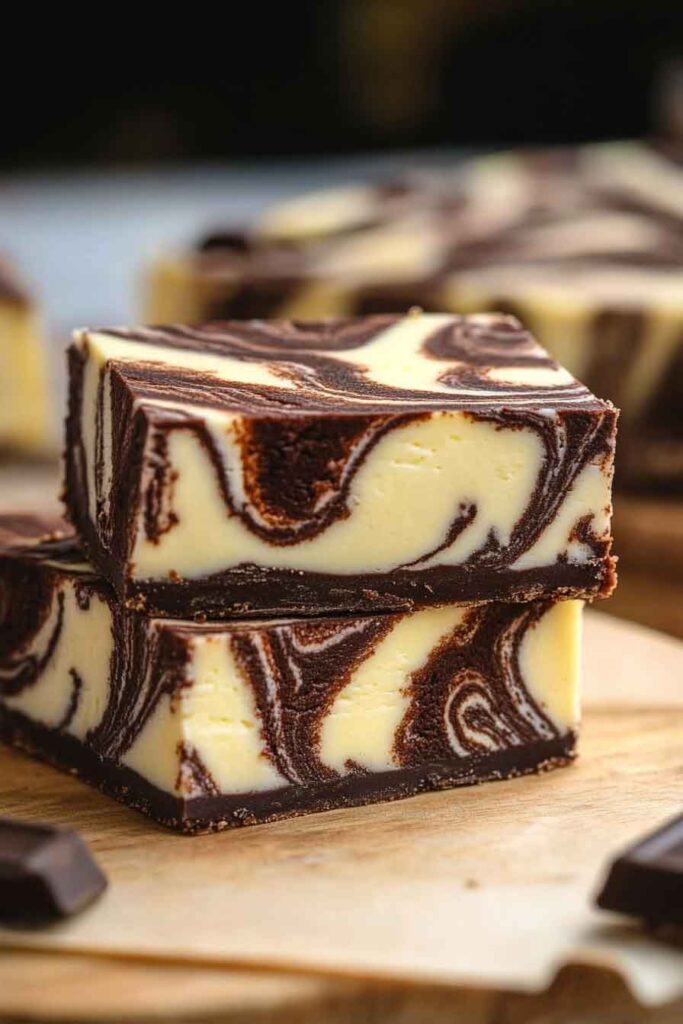
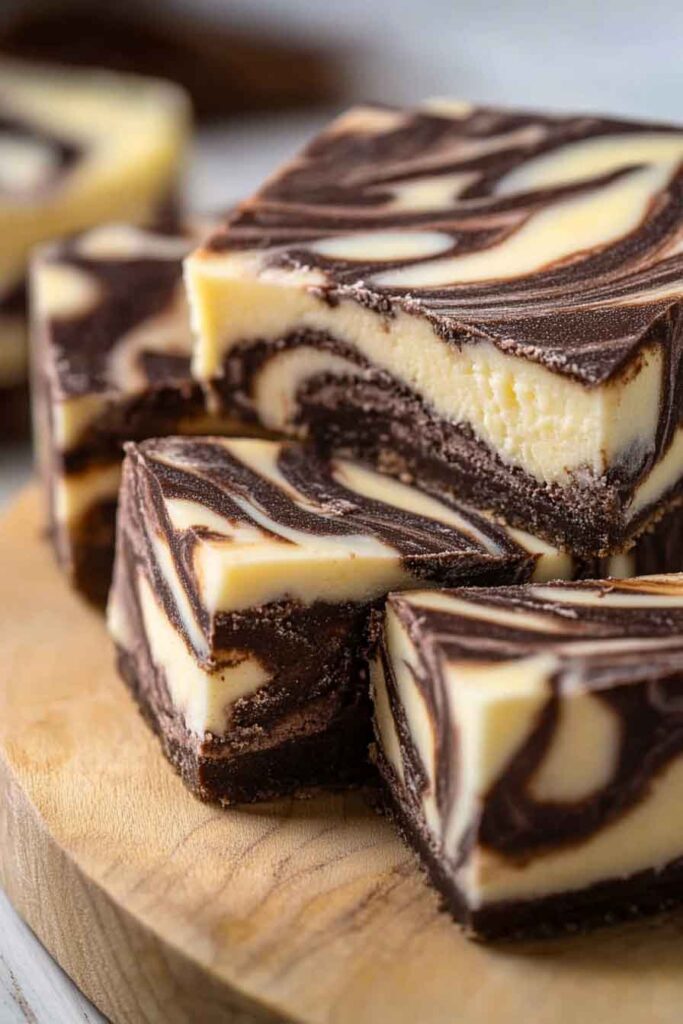
Are you ready for a dessert that’s as beautiful as it is delicious? This Chocolate Marble Cheesecake is the perfect balance of creamy and rich, with a touch of decadent chocolate swirled throughout. Trust me, it’s the kind of dessert that makes you feel like a pro, even if you’re just starting out in the kitchen.
I know what you’re thinking—cheesecake sounds fancy and complicated. But don’t worry! This recipe is super simple, and the chocolate marble effect is way easier than it looks. You’ll love how it looks and, of course, how it tastes.
Why You’ll Love This Recipe
- Indulgent Yet Easy: This cheesecake is a crowd-pleaser that doesn’t require professional baking skills.
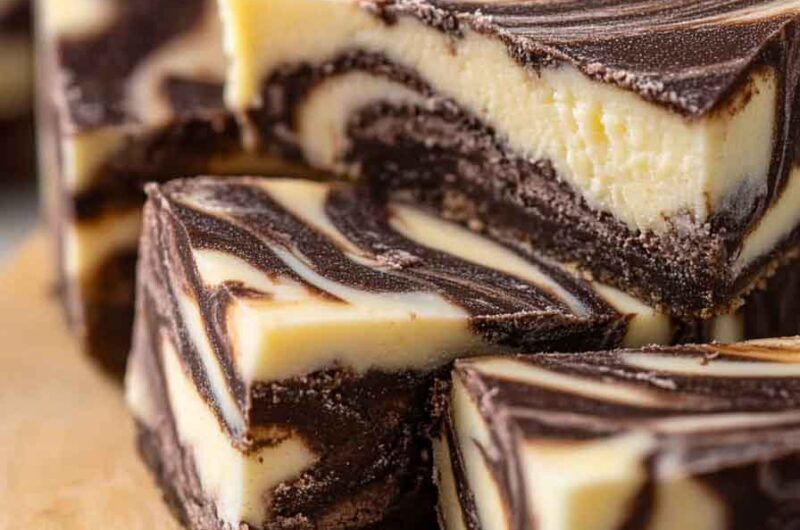
- Rich, Creamy, and Chocolatey: The marble swirl effect adds an extra layer of indulgence, making each bite a chocolatey delight.
- Perfect for Special Occasions: Whether it’s a birthday or just because, this cheesecake will make any moment feel like a celebration.
- Make-Ahead Friendly: You can prepare this cheesecake ahead of time, letting the flavors meld overnight in the fridge.
What You Need to Know Before You Start
Prep Time & Cook Time:
- Prep Time: 20 minutes
- Cook Time: 50 minutes
- Total Time: About 1 hour and 20 minutes
Servings: This recipe yields about 12 servings. Need more? Simply double the ingredients and use a larger springform pan.
Difficulty: This cheesecake is suitable for beginner bakers, though it does require patience as it needs to chill before serving.
Required Kitchen Tools
- Springform Pan (9-inch): This pan helps you remove the cheesecake easily after it’s baked and chilled.
- Mixer (Hand or Stand): For blending the cream cheese mixture to a smooth consistency.
- Double Boiler or Microwave: For melting the chocolate.
- Spatula: For swirling the chocolate into the cheesecake batter.
- Parchment Paper: To line the bottom of the springform pan for easy removal.
Ingredients for the Chocolate Marble Cheesecake
Here’s everything you need to make this decadent treat:
For the Crust:
- Oreo Crumbs (about 34 Oreos): Use the cookie crumbs for the best flavor and texture.
- Unsalted Butter (½ cup, melted): This binds the crust together.
- Kosher Salt (¼ teaspoon): To balance the sweetness of the crust.
For the Cheesecake Filling:
- Full-fat Cream Cheese (32 ounces, softened): The base of the filling, providing that smooth, creamy texture.
- Granulated Sugar (1 ⅓ cups): Adds the sweetness to balance the tanginess of the cream cheese.
- Cornstarch (3 tablespoons): Ensures a smooth and stable cheesecake filling.
- Large Eggs (4, room temperature): These help bind the filling together for a rich texture.
- Vanilla Extract (2 teaspoons): Enhances the flavor of the cream cheese.
- Full-fat Sour Cream (1 cup, room temperature): Adds extra creaminess and richness to the filling.
- Semi-sweet Chocolate (4 ounces, 60-70% cacao): This will be melted and swirled into the cheesecake for that beautiful marble effect.
Variations for Chocolate Marble Cheesecake
- Add White Chocolate: For an extra creamy twist, melt white chocolate and swirl it into the batter alongside the semi-sweet chocolate.
- Nutty Crust: Add some chopped pecans or almonds to the crust for a crunchy contrast to the creamy filling.
- Fruit Swirl: Incorporate a fruit puree like raspberry or strawberry for a fruity marble effect.
- Cheesecake Toppings: Top your cheesecake with fresh berries, whipped cream, or even more melted chocolate for added indulgence.
How to Make Chocolate Marble Cheesecake – Step-by-Step Instructions
1. Prepare the Crust
- Crush the Oreos: In a food processor, pulse the Oreos until they form fine crumbs. Alternatively, place the cookies in a zip-top bag and crush them with a rolling pin.
- Mix the Crust: Combine the Oreo crumbs, melted butter, and kosher salt in a bowl. Stir until everything is evenly mixed.
- Press into the Pan: Line the bottom of a 9-inch springform pan with parchment paper. Press the crust mixture into the pan, spreading it evenly along the bottom. Use the back of a spoon to press it down firmly. Place the pan in the refrigerator to chill while you prepare the cheesecake filling.
2. Prepare the Cheesecake Filling
- Mix the Cream Cheese: In a large mixing bowl, beat the softened cream cheese with an electric mixer on medium speed until smooth and creamy. Scrape down the sides of the bowl as needed.
- Add Sugar and Cornstarch: Add the sugar and cornstarch, and continue mixing until combined.
- Add Eggs and Vanilla: Add the eggs one at a time, beating well after each addition. Stir in the vanilla extract and sour cream until smooth.
3. Melt the Chocolate
- Double Boiler Method: Place the chopped semi-sweet chocolate in a heatproof bowl over a pot of simmering water. Stir occasionally until completely melted.
- Microwave Method: Place the chocolate in a microwave-safe bowl and heat in 20-second intervals, stirring between each, until the chocolate is melted and smooth.
4. Create the Marble Effect
- Prepare the Chocolate Swirl: Once the chocolate is melted and smooth, take about 1 cup of the cheesecake filling and mix it with the melted chocolate. This will be your chocolate layer.
- Layer the Cheesecake Mixture: Pour half of the plain cheesecake mixture into the prepared crust, spreading it evenly.
- Add the Chocolate Layer: Spoon the chocolate cheesecake mixture on top of the plain cheesecake filling.
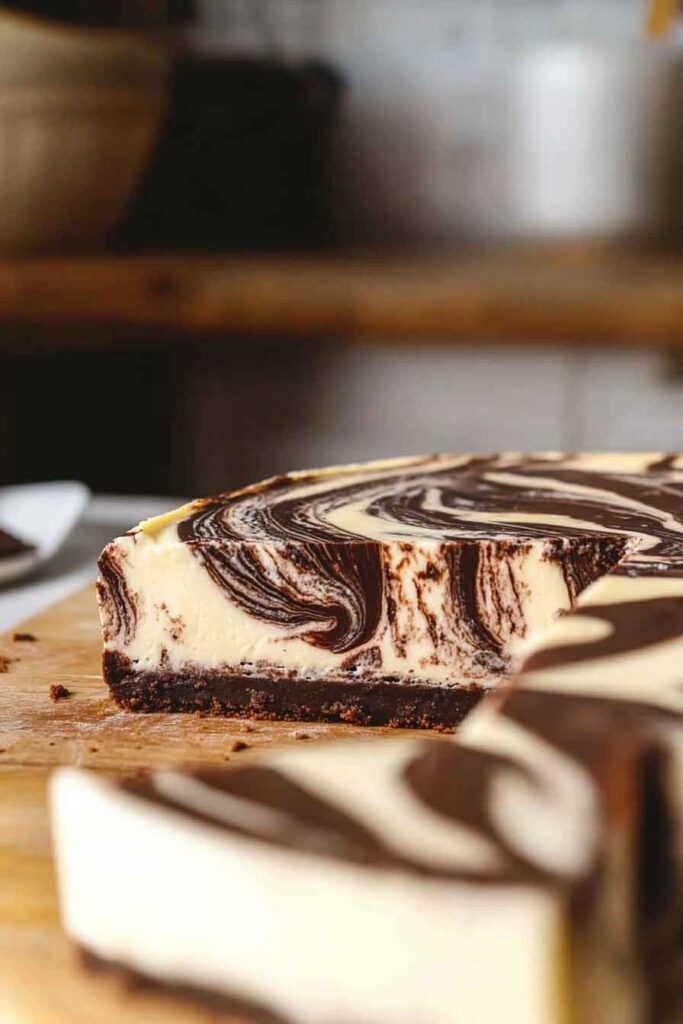
- Create the Marble Swirl: Using a spatula or a butter knife, gently swirl the chocolate mixture into the plain cheesecake, creating a marble effect. Be careful not to over-mix; you want the distinct marble design to remain.
5. Bake the Cheesecake
- Preheat the Oven: Preheat your oven to 325°F (163°C).
- Prepare the Water Bath: To prevent cracking, place the springform pan into a large roasting pan. Fill the roasting pan with about 1 inch of hot water. This creates a humid environment for even baking.
- Bake the Cheesecake: Place the pan in the preheated oven and bake for 45-50 minutes. The cheesecake is done when the edges are set, but the center is still slightly jiggly. Turn off the oven and leave the cheesecake in the oven with the door ajar for about 1 hour to cool gradually. This will help prevent cracking.
- Chill: After an hour, remove the cheesecake from the oven and water bath. Let it cool to room temperature before transferring it to the fridge. Refrigerate for at least 4 hours, but preferably overnight, to let the flavors set and develop.
Serving and Decoration
How to Serve Chocolate Marble Cheesecake
This cheesecake is delicious on its own, but you can elevate it with a few simple toppings. Here are some ideas:
- Fresh Berries: Top with fresh strawberries, raspberries, or blueberries for a pop of color and a hint of freshness.
- Whipped Cream: A dollop of whipped cream adds a light, airy contrast to the rich, dense cheesecake.
- More Chocolate: Drizzle melted chocolate or sprinkle chocolate shavings on top for an extra dose of indulgence.
- Caramel Sauce: For a sweet, buttery contrast, drizzle a little caramel sauce over the top before serving.
How to Cut and Serve
To ensure clean slices, dip a sharp knife in hot water and wipe it dry between each cut. This helps prevent the cheesecake from sticking to the knife and ensures smooth, neat slices.
Storing Chocolate Marble Cheesecake
- Leftovers: Store the cheesecake in the fridge for up to 5 days in an airtight container. If you have a slice (or two) left over, simply cover the cheesecake with plastic wrap or foil.
- Freezing: You can freeze the cheesecake for up to 2 months. To freeze, place the cheesecake on a baking sheet and freeze until solid. Once frozen, wrap it tightly in plastic wrap and aluminum foil. To thaw, simply place it in the refrigerator overnight.
Tips and Tricks for Success
- Room Temperature Ingredients: Make sure your cream cheese, eggs, and sour cream are at room temperature before mixing. This helps create a smoother filling.
- Don’t Overmix the Cheesecake: Overmixing can lead to air bubbles that may cause cracking during baking. Mix until everything is just combined.
- Water Bath Tip: If you don’t have a roasting pan, you can wrap the bottom of the springform pan in heavy-duty aluminum foil to prevent water from seeping in. Just be sure to keep the water level at about 1 inch.
- Chill Time is Key: Allowing the cheesecake to chill overnight enhances the flavor and texture, making it even creamier.
Nutrition Information (Per Serving)
| Nutrient | Amount per Serving |
|---|---|
| Calories | 370 |
| Total Fat | 26g |
| Saturated Fat | 16g |
| Cholesterol | 95mg |
| Sodium | 210mg |
| Total Carbohydrates | 31g |
| Dietary Fiber | 1g |
| Sugars | 26g |
| Protein | 6g |
Chocolate Marble Cheesecake Recipe
Course: Cakes12
servings20
minutes50
minutes370
kcal4
hoursIngredients
- For the Crust:
34 Oreos (crushed)
½ cup unsalted butter (melted)
¼ teaspoon kosher salt
- For the Cheesecake Filling:
32 ounces full-fat cream cheese (softened)
1 ⅓ cups granulated sugar
3 tablespoons cornstarch
4 large eggs (room temperature)
2 teaspoons vanilla extract
1 cup full-fat sour cream (room temperature)
4 ounces semi-sweet chocolate (60-70% cacao, melted)
Directions
- Prepare the Crust: Mix crushed Oreos, melted butter, and salt. Press into a 9-inch springform pan and chill.
- Prepare the Filling: Beat cream cheese, sugar, and cornstarch. Add eggs, vanilla, and sour cream. Mix until smooth.
- Melt Chocolate: Melt chocolate and mix with 1 cup of cheesecake filling.
- Create the Marble Effect: Layer the plain cheesecake mixture and chocolate mixture. Swirl gently to create the marble pattern.
- Bake: Bake at 325°F for 45-50 minutes. Turn off the oven and leave the cheesecake inside for an hour.
- Chill: Cool to room temperature, then refrigerate for at least 4 hours or overnight.
- Serve: Top with fresh berries, whipped cream, or melted chocolate.
FAQs
Can I use a different crust?
Yes! You can substitute Oreos with graham crackers, chocolate wafer cookies, or even nuts for a gluten-free option.
How can I tell when my cheesecake is done?
The cheesecake should be set around the edges, but slightly jiggly in the center. It will firm up as it cools.
Conclusion
This Chocolate Marble Cheesecake is a dessert that will leave everyone asking for the recipe. With its perfect balance of smooth, creamy filling and rich chocolate swirl, it’s sure to become your go-to cheesecake recipe. Enjoy the process, and most importantly, enjoy the sweet reward!
Let me know if you’d like to proceed with any more edits or need additional details!
