Brooklyn Blackout Cake
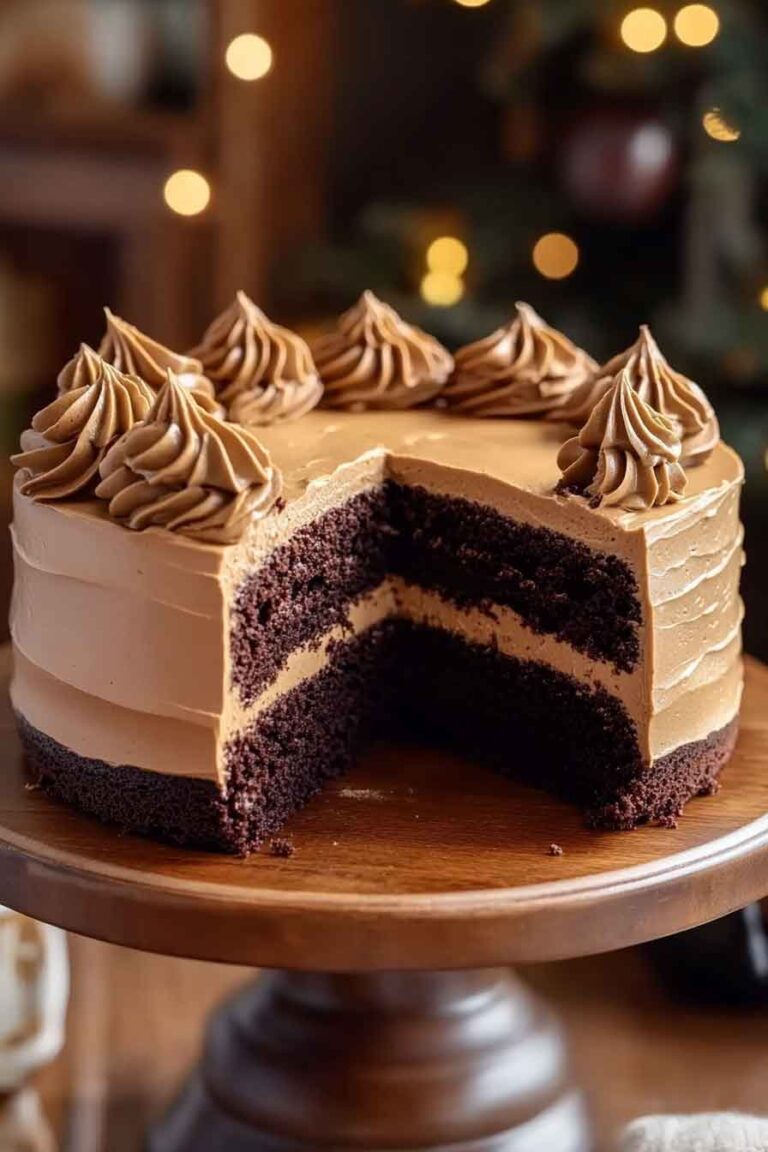
Imagine sinking your fork into layers of rich, moist chocolate cake, filled and frosted with a creamy chocolate pudding so decadent it feels like pure indulgence. Brooklyn Blackout Cake isn’t just a dessert; it’s a piece of culinary history wrapped in irresistible cocoa bliss.
Originally crafted during World War II in Brooklyn, this cake has stood the test of time, winning hearts with its bold flavor and unforgettable texture. It’s the kind of dessert that turns any gathering into a celebration and leaves everyone asking for seconds.
Whether you’re craving the ultimate chocolate fix or looking to impress guests with a showstopping treat, Brooklyn Blackout Cake delivers on all fronts. The combination of deep chocolate layers and luscious pudding makes it a must-try for every dessert lover.
Ready to bring this iconic cake to life in your own kitchen? Let’s dive into the step-by-step recipe and unlock the secrets to baking your new favorite chocolate masterpiece!
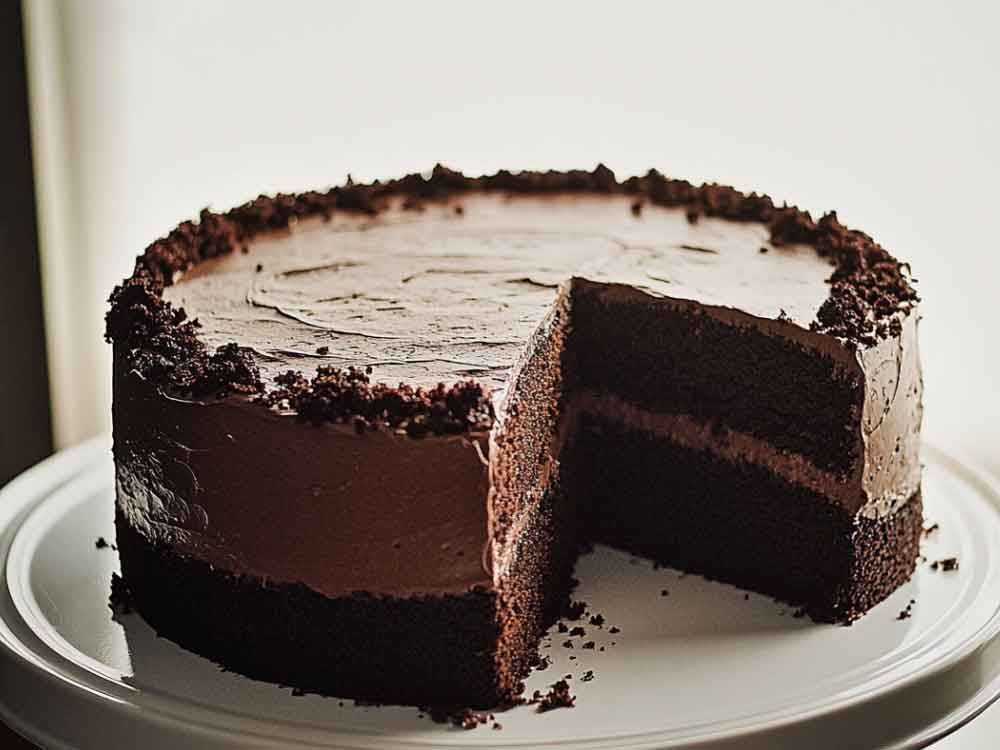
Why You’ll Love This Recipe
- Rich and Decadent: Every bite is a chocolate lover’s dream with layers of pudding, cake, and frosting.
- Iconic Dessert: This cake is inspired by the famous Brooklyn bakery version from the 1940s.
- Perfect for Celebrations: Whether for birthdays or dinner parties, this cake will wow your guests.
- Make-Ahead Friendly: You can prepare the components in advance and assemble them later.
Required Kitchen Tools
- Mixing bowls
- Whisk and hand mixer (or stand mixer)
- 9-inch round cake pans (2)
- Wire cooling rack
- Offset spatula
- Saucepan
Ingredients for the Brooklyn Blackout Cake
Chocolate Cake:
- ½ cup (113 grams) unsalted butter, softened
- ¾ cup (64 grams) Dutch process cocoa powder
- 1¾ cups (385 grams) firmly packed dark brown sugar
- 1 cup (240 grams) hot brewed coffee
- ¾ cup (180 grams) whole buttermilk
- 2 large eggs (100 grams), lightly beaten
- 2 teaspoons (8 grams) vanilla extract
- 1½ cups (188 grams) all-purpose flour
- 2 teaspoons (10 grams) baking powder
- ½ teaspoon (2.5 grams) baking soda
- ½ teaspoon (1.5 grams) kosher salt
Chocolate Pudding Filling:
- 2 cups (480 ml) whole milk
- ½ cup (100 grams) granulated sugar
- ¼ cup (30 grams) cocoa powder
- 3 tablespoons (24 grams) cornstarch
- 2 large egg yolks
- ½ teaspoon (2.5 grams) vanilla extract
- 1 tablespoon (14 grams) unsalted butter
Whipped Chocolate Frosting:
- 1½ cups (340 grams) unsalted butter, softened
- 3 cups (360 grams) powdered sugar
- ½ cup (64 grams) cocoa powder
- ¼ cup (60 ml) heavy cream
- 1 teaspoon (4 grams) vanilla extract
Step-by-Step Instructions
1. Make the Chocolate Cake
- Preheat the oven: Set it to 350°F (175°C). Grease and line two 9-inch round cake pans.
- Mix the wet ingredients: In a large bowl, whisk together the butter, cocoa powder, and dark brown sugar until creamy. Gradually add the hot coffee, buttermilk, eggs, and vanilla extract.
- Combine the dry ingredients: In another bowl, sift together the flour, baking powder, baking soda, and salt.
- Bring it all together: Gradually add the dry ingredients to the wet ingredients, mixing until smooth.
- Bake: Divide the batter evenly between the pans and bake for 30-35 minutes, or until a toothpick inserted into the center comes out clean. Let the cakes cool completely on a wire rack.
2. Make the Chocolate Pudding
- Heat the milk: In a medium saucepan, warm the milk over medium heat until steaming.
- Combine dry ingredients: In a separate bowl, whisk together the sugar, cocoa powder, and cornstarch. Gradually whisk in a small amount of the hot milk to create a smooth paste.
- Thicken the pudding: Return the mixture to the saucepan and cook, stirring constantly, until thickened.
- Add flavor: Remove from heat and stir in the egg yolks, vanilla extract, and butter. Let cool completely before using.
3. Prepare the Whipped Chocolate Frosting
- Whip the butter: Using a hand or stand mixer, beat the butter until fluffy.
- Add powdered sugar and cocoa: Gradually add the powdered sugar and cocoa powder, mixing until smooth.
- Incorporate the cream and vanilla: Slowly mix in the heavy cream and vanilla extract, whipping until light and airy.
4. Assemble the Brooklyn Blackout Cake
- Level the cakes: Trim the tops of the cakes to create even layers. Crumble the trimmings to use as decoration.
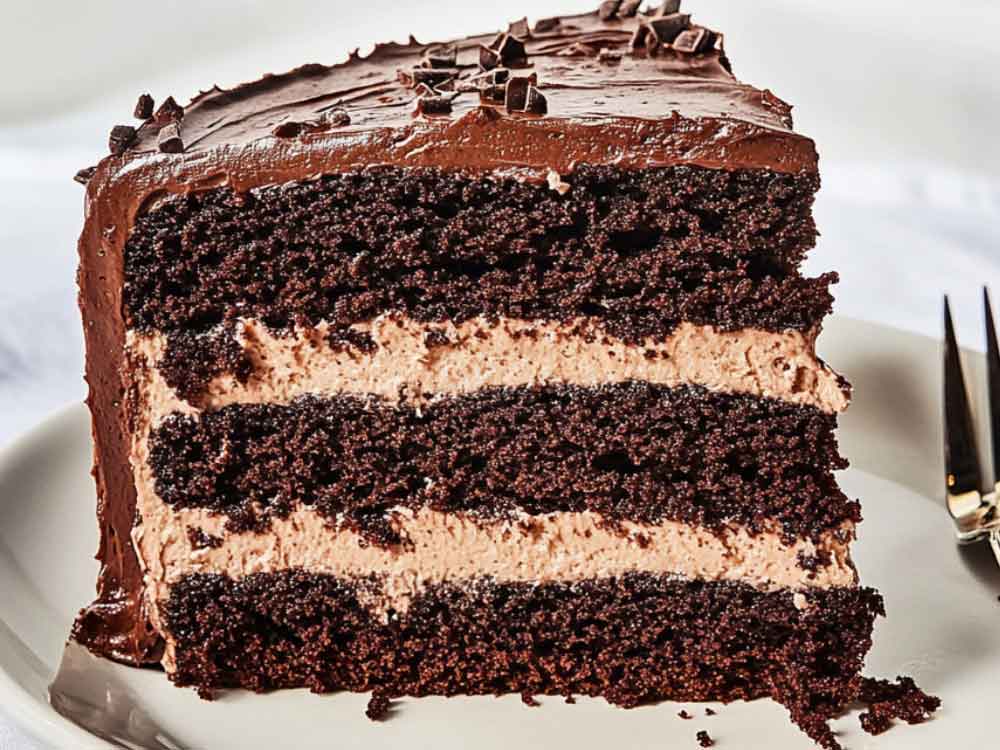
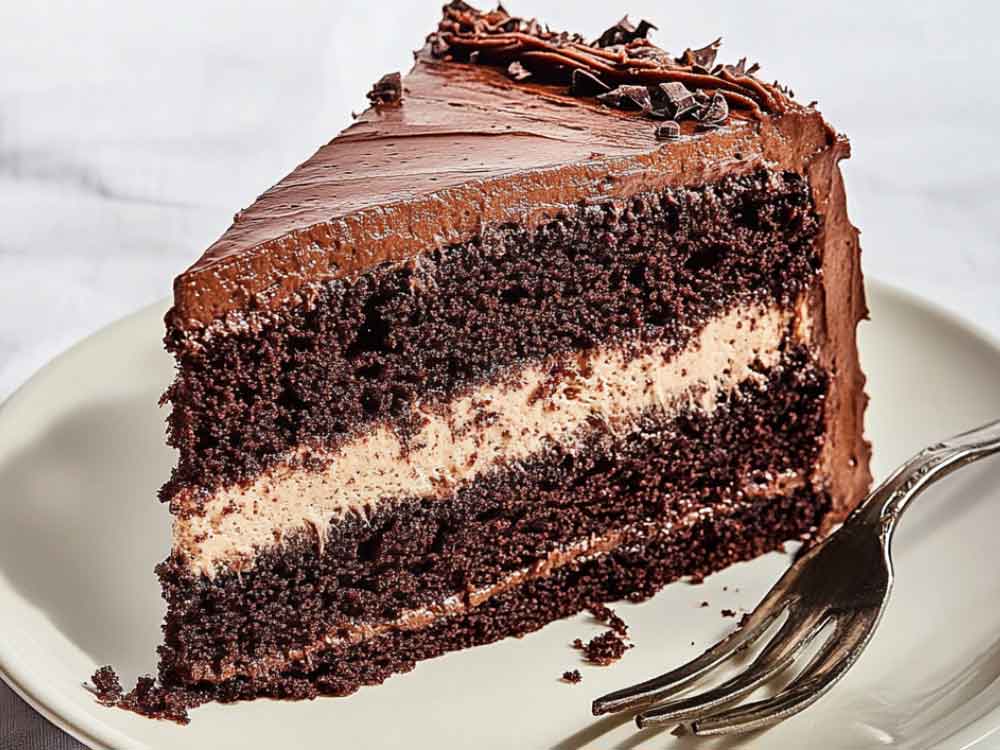
- Layer the pudding: Place one cake layer on a serving plate, spread a thick layer of chocolate pudding on top, and add the second cake layer.
- Frost the cake: Cover the entire cake with the whipped chocolate frosting using an offset spatula.
- Decorate: Press the reserved cake crumbs onto the sides and top of the cake for the classic blackout look.
Serving Suggestions
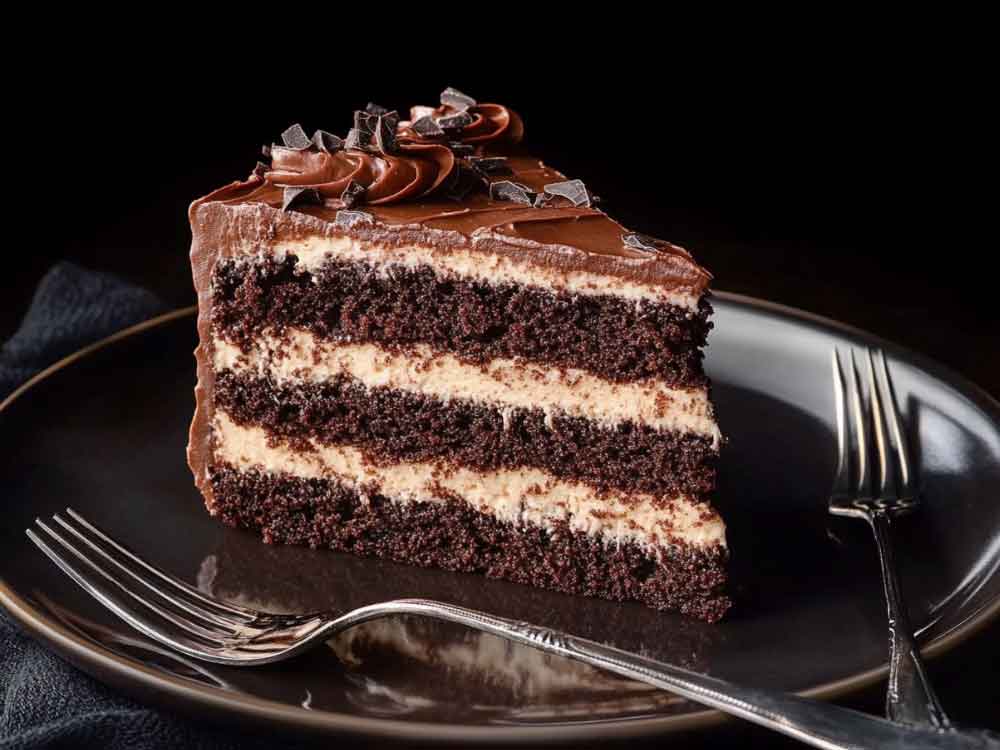
This cake pairs beautifully with a cold glass of milk, a dollop of whipped cream, or a scoop of vanilla ice cream. Serve it at room temperature for the best texture and flavor.
Storing Brooklyn Blackout Cake
- Refrigerate: Store the cake in an airtight container in the refrigerator for up to 4 days.
- Freeze: You can freeze the unfrosted cake layers for up to 2 months. Thaw overnight in the refrigerator before assembling.

Nutrition Information
| Serving Size | Calories | Total Fat | Carbs | Protein |
|---|---|---|---|---|
| 1 slice | 480 | 28g | 55g | 6g |
Brooklyn Blackout Cake
12
slices30
minutes35
minutes300
kcal1
hourIngredients
Chocolate Cake
½ cup (113 g) unsalted butter, softened
¾ cup (64 g) Dutch process cocoa powder
1¾ cups (385 g) firmly packed dark brown sugar
1 cup (240 g) hot brewed coffee
¾ cup (180 g) whole buttermilk
2 tsp vanilla extract
2 large eggs, lightly beaten
1½ cups (188 g) all-purpose flour
2 tsp baking powder
½ tsp baking soda
½ tsp kosher salt
- Chocolate Pudding Filling
2 cups (480 ml) whole milk
½ cup (100 g) granulated sugar
¼ cup (30 g) cocoa powder
3 tbsp (24 g) cornstarch
2 large egg yolks
½ tsp vanilla extract
1 tbsp (14 g) unsalted butter
- Whipped Chocolate Frosting
1½ cups (340 g) unsalted butter, softened
3 cups (360 g) powdered sugar
½ cup (64 g) cocoa powder
¼ cup (60 ml) heavy cream
1 tsp vanilla extract
Directions
- Make the Chocolate Cake
Preheat oven to 350°F (175°C). Grease and line two 9-inch round cake pans.
In a large bowl, whisk butter, cocoa powder, and brown sugar until creamy.
Slowly add hot coffee, buttermilk, eggs, and vanilla. Mix well.
In another bowl, sift flour, baking powder, baking soda, and salt.
Gradually mix dry ingredients into the wet mixture until smooth.
Divide batter into pans. Bake 30–35 minutes, until a toothpick comes out clean.
Cool completely on a wire rack. - Make the Chocolate Pudding
Heat milk in a saucepan until steaming.
In a bowl, whisk sugar, cocoa, and cornstarch. Add a little hot milk to form a paste.
Pour mixture back into saucepan. Cook, stirring, until thickened.
Remove from heat. Stir in yolks, vanilla, and butter. Cool completely. - Make the Frosting
Beat butter until fluffy.
Gradually add powdered sugar and cocoa powder. Mix until smooth.
Slowly add cream and vanilla. Beat until light and airy. - Assemble the Cake
Trim cake tops to level. Crumble trimmings for decoration.
Place one cake layer on a plate. Spread pudding on top. Add second cake layer.
Frost entire cake with whipped chocolate frosting.
Press cake crumbs onto the sides and top for the classic blackout finish.
Brooklyn Blackout Cake FAQs
Can I make this cake ahead of time?
Yes! You can bake the cake layers and make the pudding a day ahead. Assemble the cake on the day you plan to serve it.
What makes this cake unique?
The combination of rich chocolate pudding, soft cake, and fluffy frosting, topped with cake crumbs, creates an unforgettable texture and flavor.
Can I use store-bought pudding?
While homemade pudding enhances the flavor, you can use high-quality store-bought pudding as a shortcut.
Brooklyn Blackout Cake is a showstopper dessert that brings together layers of intense chocolate goodness. Whether you’re baking for a crowd or treating yourself, this cake is sure to impress every time!
