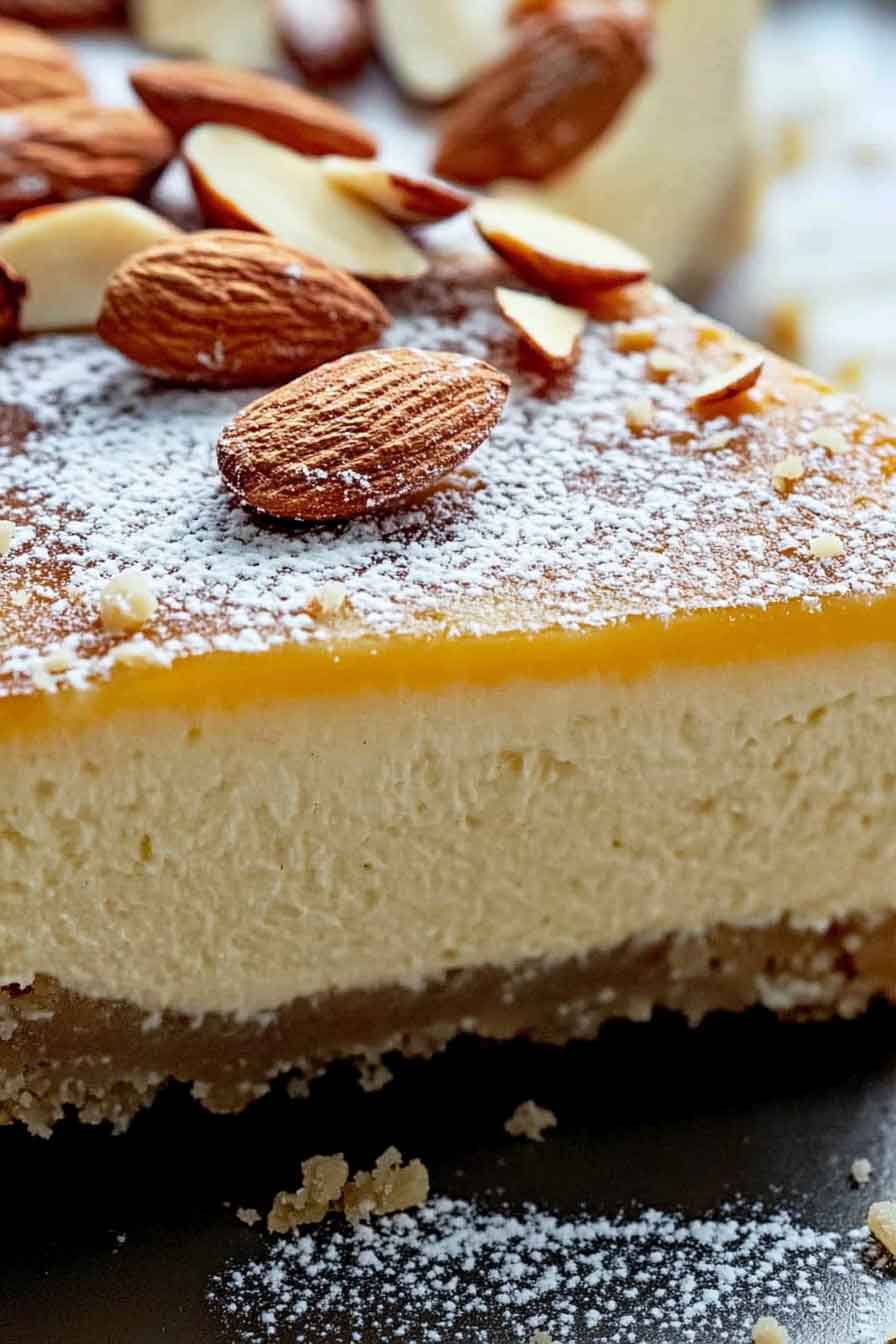
Ricotta Cheesecake Recipe: The Ultimate Guide
Wanna try a cheesecake that’s rich but still light and fluffy? This ricotta cheesecake is totally the one. It’s creamy, dreamy, and a little bit fancy.
I gave it a shot last weekend, and wow—it was so smooth and not too sweet. The ricotta makes it feel extra special without any extra fuss.
Perfect for holidays, brunches, or when you just feel like treating yourself. No crust drama, no water bath—just pure cheesecake goodness.
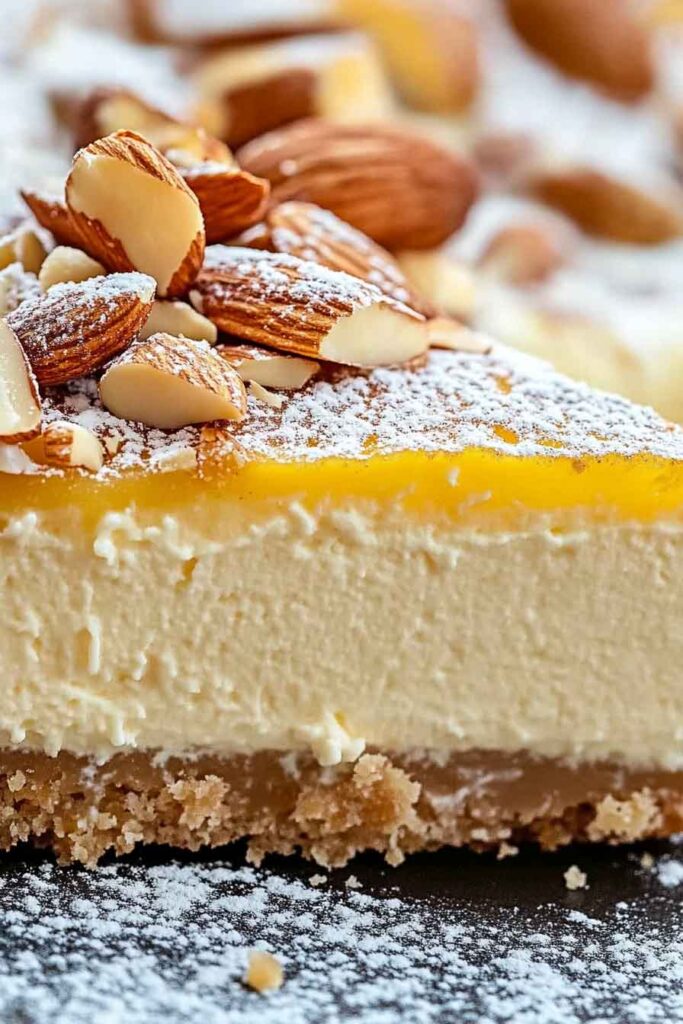
So, ready to bake a cheesecake that’ll impress everyone (even yourself)? Let’s do this—I’ll guide you every step of the way.
Why You’ll Love This Recipe
- Light, Yet Creamy: Unlike dense cheesecakes, this version has a smooth, airy bite thanks to ricotta cheese.
- Simple Ingredients, Big Flavor: Every ingredient serves a purpose—no fluff, no filler.
- Beginner-Friendly: No water bath or fancy techniques needed.
- Elegant Dessert: Great for dinner parties, holiday gatherings, or a slow weekend treat.
- Customizable Base: Works beautifully with graham cracker crusts or almond flour alternatives.
What You Need to Know Before You Start
Prep Time: 20 minutes
Cook Time: 50–60 minutes
Cooling & Chilling Time: 4 hours minimum (overnight is best)
Total Time: About 6–8 hours
Servings: Makes one 9-inch cheesecake (serves 8–10 slices)
Difficulty: Beginner to Intermediate — simple steps, but attention to cooling matters.
Required Kitchen Tools
- 9-inch springform pan
- Mixing bowls (2 large)
- Hand mixer or stand mixer
- Rubber spatula
- Zester or microplane
- Measuring cups and spoons
- Oven thermometer (optional but helpful)
- Cooling rack
Ingredients
Here’s what you’ll need to make this luscious cheesecake:
For the Crust:
- 1½ cups graham cracker crumbs (about 10 full crackers)
- ¼ cup granulated sugar
- 6 tablespoons unsalted butter, melted
For the Filling:
- 1¾ cups full-fat ricotta cheese (drained if watery)
- 8 oz (226g) cream cheese, room temperature
- ¾ cup granulated sugar
- 3 large eggs, room temperature
- 2 tablespoons cornstarch
- 1½ teaspoons vanilla extract
- 1 tablespoon lemon zest (or orange zest for variation)
Note: Make sure all dairy ingredients are at room temperature. This helps everything blend smoothly.
How to Make Ricotta Cheesecake
Step-by-Step Instructions
1. Prep the Crust
- Preheat your oven to 325°F (163°C).
- In a bowl, combine the graham cracker crumbs, sugar, and melted butter. Mix until the crumbs feel like wet sand.
- Press the mixture into the bottom of a 9-inch springform pan. Use the bottom of a glass or your fingers to flatten it evenly.
- Bake the crust for 10 minutes. Let it cool while you prepare the filling.
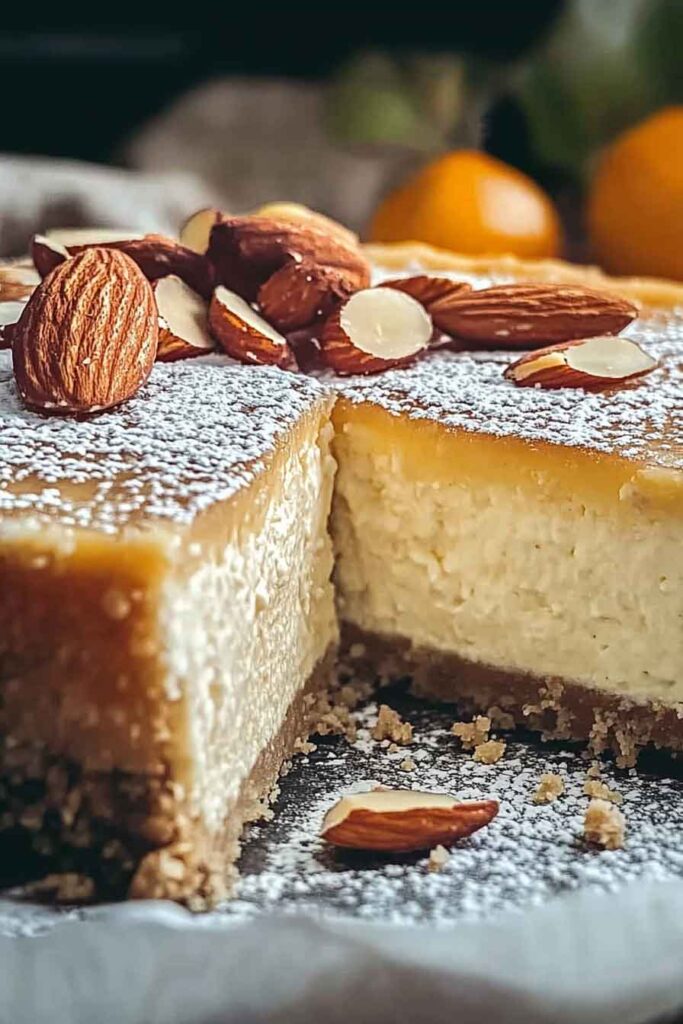
2. Prepare the Ricotta Filling
- In a large mixing bowl, beat the ricotta and cream cheese together until completely smooth. Scrape down the sides as needed.
- Add the sugar and beat again until creamy and combined.
- Mix in the eggs one at a time, beating well after each addition.
- Add the cornstarch, vanilla extract, and lemon zest. Stir until everything is well mixed and smooth.
3. Fill and Bake
- Pour the filling over the cooled crust. Smooth the top gently with a spatula.
- Tap the pan on the counter a few times to release any air bubbles.
- Bake at 325°F (163°C) for 50–60 minutes. The edges should look set, but the center will still jiggle slightly.
4. Cool Slowly
- Turn the oven off and crack the door open. Let the cheesecake sit inside for 30 minutes.
- Then remove it and cool it completely at room temperature for 1–2 hours.
- Refrigerate for at least 4 hours, preferably overnight.
Variations for Ricotta Cheesecake
- Crust Options: Try almond flour crust for a gluten-free base, or crushed biscotti for a more Italian flair.
- Flavor Twist: Add orange zest instead of lemon for a warmer citrus note.
- Top It Off: Serve with fresh berries, honey drizzle, or even a dollop of lemon curd.
- Herbal Hint: A touch of rosemary or thyme can give it a rustic, savory edge (use sparingly).
- Mini Cheesecakes: Divide the filling into muffin tins for individual servings (reduce baking time to 25–30 minutes).
How to Serve Ricotta Cheesecake
- Classic Style: Serve chilled, as-is, with a cup of tea or espresso.
- Topped with Fruit: Add fresh raspberries, blueberries, or sliced strawberries for a pop of color and tartness.
- With Sauce: A spoonful of berry compote, honey, or chocolate ganache adds richness.
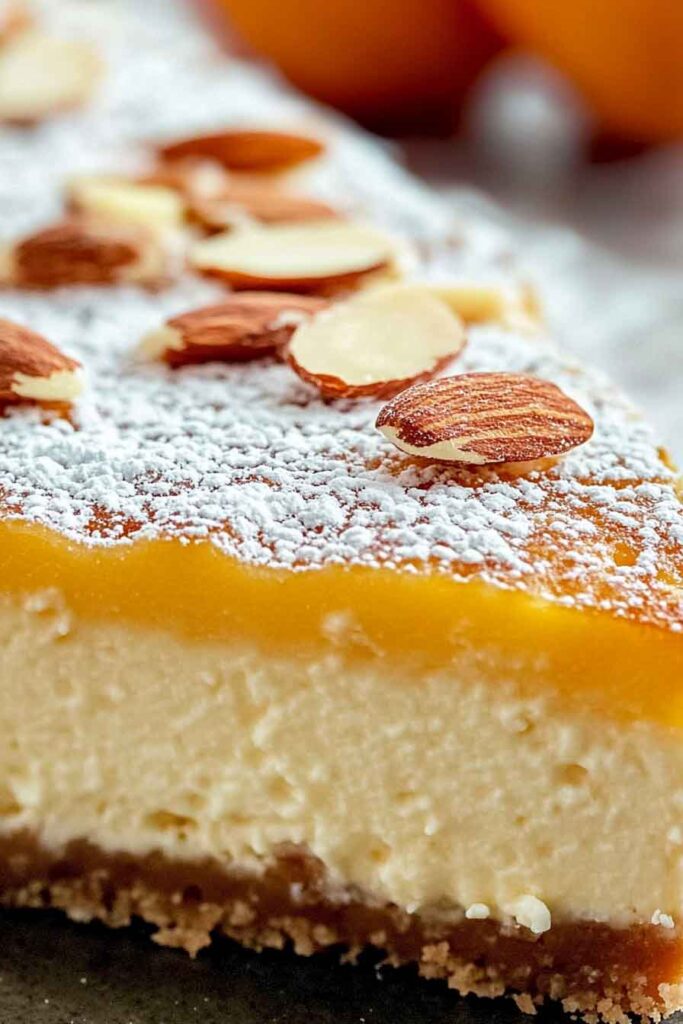
- Dust of Sugar: A light sprinkle of powdered sugar before serving makes it look finished without much fuss.
Storing Ricotta Cheesecake
- In the Fridge: Cover the cooled cheesecake with plastic wrap or store in an airtight container. It will stay fresh for up to 5 days.
- In the Freezer: Wrap slices individually in plastic wrap and foil. Freeze for up to 1 month. Thaw in the fridge overnight before serving.
- Make-Ahead Tip: This cheesecake actually tastes better the next day, once the flavors settle and the texture firms up.
Tips and Tricks for Success
- Drain Ricotta Well: If your ricotta is very wet, place it in a fine mesh sieve or cheesecloth-lined colander for 30 minutes before using.
- Room Temperature Ingredients: Cold ingredients won’t blend well. Let them sit out before starting.
- Avoid Overmixing: Mix just until smooth. Overmixing adds air and can cause cracks.
- Bake Low and Slow: Stick to the 325°F temperature. Higher heat can cause uneven texture or surface cracks.
- Cool Gradually: Sudden temperature changes can make the cheesecake collapse. Patience pays off.
Nutrition (Per Slice – based on 10 servings)
| Nutrient | Amount |
|---|---|
| Calories | ~320 kcal |
| Total Fat | 21g |
| Saturated Fat | 13g |
| Carbohydrates | 25g |
| Sugars | 17g |
| Protein | 7g |
| Fiber | <1g |
| Sodium | 180mg |
Ricotta Cheesecake Recipe: The Ultimate Guide
Course: Cakes1 cake
servings20
minutes50
minutes~320
kcal240
hourIngredients
- For the Crust
1½ cups graham cracker crumbs
¼ cup granulated sugar
6 tbsp unsalted butter, melted
- For the Filling
1¾ cups full-fat ricotta cheese (drained if needed)
8 oz cream cheese, room temperature
¾ cup granulated sugar
3 large eggs, room temperature
2 tbsp cornstarch
1½ tsp vanilla extract
1 tbsp lemon zest (or orange zest)
Directions
- Preheat oven to 325°F (163°C). Mix crust ingredients and press into a springform pan. Bake for 10 minutes, then cool.
- In a large bowl, beat ricotta and cream cheese until smooth. Add sugar, mix well. Add eggs one at a time. Stir in cornstarch, vanilla, and zest.
- Pour filling over crust. Smooth top. Bake 50–60 minutes until the center is slightly jiggly.
- Let cool in the oven with the door cracked for 30 minutes. Cool at room temp for 2 hours. Chill at least 4 hours or overnight.
Ricotta Cheesecake FAQs
Q: Can I use part-skim ricotta?
A: Full-fat is best for texture and richness. Part-skim will be drier and less creamy.
Q: What if I don’t have a springform pan?
A: Use a deep 9-inch round cake pan lined with parchment. You won’t get clean edges, but it will still taste great.
Q: How do I know it’s done baking?
A: The edges should be set and the center should jiggle slightly when shaken. It firms up as it chills.
Q: Can I skip the crust?
A: Yes, for a crustless version, just grease the pan lightly and bake as directed.
Conclusion
Ricotta cheesecake is one of those recipes that surprises you with its simplicity and elegance. It’s light, creamy, and not too sweet—perfect for when you want something impressive, but not heavy. Once you try it, you might find yourself skipping the traditional cheesecake altogether.
Whether it’s your first time baking or you’re just looking to switch it up, this ricotta version is worth a place in your dessert rotation. Slice, serve, and enjoy the calm, creamy charm of a classic done right.
